Need help for an ongoing first-time ding repair

Got a ding near the nose - most damage on bottom, a bit shatter into the rail and into the deck.

This is what the original ding looks like: https://imgur.com/a/nAn1ZOB

I first hand-sanded it with 80 grit.

On the bottom, could see the cloth so I stopped.

On the rail/deck, cloth wasn’t fully exposed but it seemed smooth enough.  Pics at this stage: https://imgur.com/a/y0IsZKt

Then, I mixed poly resin and q-cell (no idea how much q-cell to put in so tried to do 1:1). Gave it a lot of stirring. Then added in the catalyst. A lot of stirring. It’s still very liquidy without turning into a paste. So some more drops of catalyst.

Then it suddenly began to harden. So I used a stick to quickly put the mix onto the ding.

But then it looked like this now…which, doesn’t look good: https://imgur.com/a/hcSefHz

Main question is what should I do now?

(1) Should I sand this whole mess down and redo?  There’s a small area right on the rail that is not covered by the mixture (visible in the last pic)

(2) Or should I proceed to sand it down and laminate 2 pieces of cloths?

(3) Maybe I don’t need resin+Q-cell at all?  From the first two links, maybe it’s possible the ding didn’t damage the outermost fiberglass, but just shattered the outermost resin?

Thank you from a new surfer who’s doing his first ding repair…

No drama.   We all have to start somewhere.  One of the first things you learn by doing your own repairs is that if you make a  mistake with a repair you can always go back and fix it until you get it right.  The board won’t care how many attempts it takes you to get what you want out of your repair.  As far as the board is concerned, parts is parts.    

Your first pic shows a shatter, not a ding.  You didn’t have a hole into your core, you just have a fractured shell.  You could have just sanded into the shatter until you cleaned it up and then covered it with a couple layers of 4oz.  No filler involved.  But the way you did it isn’t going to cause any problems either,  so long as you do cover your repait area with some cloth.  

For info, when you do use filler, you can rough cut the excess off with a razor blade or take a sureform or a heavy file to it after it sets up but before it fully hardens.  That will reduce the amount of sanding you have to do.     

From where your repair is at right now, start by sanding it back down .    Make sure you tape your repair area off with some masking tape before you do any sanding.  Lay your tape maybe 1/4" outside of the actual repair area.   There’s no reason to be sanding into the solid areas beyond that.     Then get to sanding.   Use a sander or a piece of 36grit or 40grit sandpaper wrapped a 6" length of 2x4 or something similar to function as a sanding block to get everything smooth and even.

Once your repair is flush with the rest of your rail you can cap it with a couple layers of 4oz.  Lay that to the tape line and then once it sets up you can pull the tape and feather the edges in with the rest of the surrounding fiberglass, then add your fill and finish coats and finish as normal.   For a rail ding you might want to prop the board in it’s side with the rail pointing up and then build a bit of a dam around it in masking tape so you’re not getting resin anywhere else but your repair area. 

For future reference, the warmer the air temperature is the less catalyst it takes to quickly set the resin off.   For a ding repair sized batch of resin you’d be using just a few drops of catalyst.   Mix the catalyst and resin first, and then thicken with the filler.  


Hello; first, congratulations due to new to surfing but purchased a not cheap board (color in the resin)

Second, pretty good the intention to do the repair.

Yes; as mentioned, you do not need silice in this situation (if you have a hole is better to replace the foam and then a light smear of filler instead of only filler)

so sand it down to what you obtained in the first photo. Be cautious because now you can remove that exposed cloth (and ruin the cosmetics). Check to sand all the shattered glass (you did not do it in that photo) also, sand besides a lot more. I mean; you sanded the gloss coat but sand all that hot coat and stop when the cloth started to expose.

Why? to feather (flush) right the patches and prevent future micro infiltration having a strong bond and repair too.

After all the sanding, check everything with a few drops of monomere. It will show you if you need to remove more shattered glass and the color matching etc.

Then proceed with the lamination. If the rail (in this case or other) do not follow the line you need to use more layers. In this case due to is the rail, you need 3 layers but check the lines, in that case you can use more.

The layers in most cases, is better to put its staggeredbut that depends in which place you are performing the repair.

After that, let dry 2 hours or use UV resin to wait minutes; apply the hot coat (resin, MEKP and styrene monomere with wax) with brush; let it cure for 2 hours (or use UV resin) and sand all flat following the lines. Finish by hand to get rid of tool squareness. Check that the rail is ok in different positions.

If its all ok continue with the gloss coat if not laminate more glass and hot coat; then sand again.

Now, apply another coat, could be the same hot coat resin; very gently with the brush and a bit thinner than hot coat. Baby sit it for a moment. Let it dry to sand 2 hours (or use UV resin)

Polish to try to finish with the same finish as the board has. Mirror finish or matte finish. With mirror finish; start the repair from the edges with a super soft pad attached to the sander and 220 grit only touching the edges very slightly then start with 320 but not on the curves; then 400 grit, then 500 600 and 1200 on all the repair. With all the grits you go somewhat light, with the weight of the tool is enough; if not you will burn through the resin exposing the weave. However, if you used plenty of glass, some weave can show but is far better to have more glass than a bunch or resin that do not do anything for you regarding how strong the repair is done.

Every time you go finer with the grits you can apply or more time sanding or more pressure, to get rid of previous marks; but with alll those grits that I mentioned, is a good way to barely sand and not burn anything.

Then rub out with polishing paste mixed with some car wax etc. with the polisher/sander too.

-you can apply that method for other types of repairs.


Thanks a lot, gdaddy and reverb!

Man, took me 2 hours to sand down the mess.  Here’s what it looks like now: https://imgur.com/a/TBo5WoT

Is this sanded enough for glassing?  Should I keep sanding until the clothes are exposed, as in https://imgur.com/a/y0IsZKt?

Also read somewhere that to avoid the fiberglass becoming a bump, one should sand the repair area to lower than undamaged surface.

I also circled out some “pores”.  I feel like they would be problematic if I just lay glass on top, but not sure what’s the best way to get rid of them.

I’m gonna go through this too, with a few suggestions- bear with me. it’s your first, and maybe I can throw in a little info/explanations to help with the redo and future repairs. 

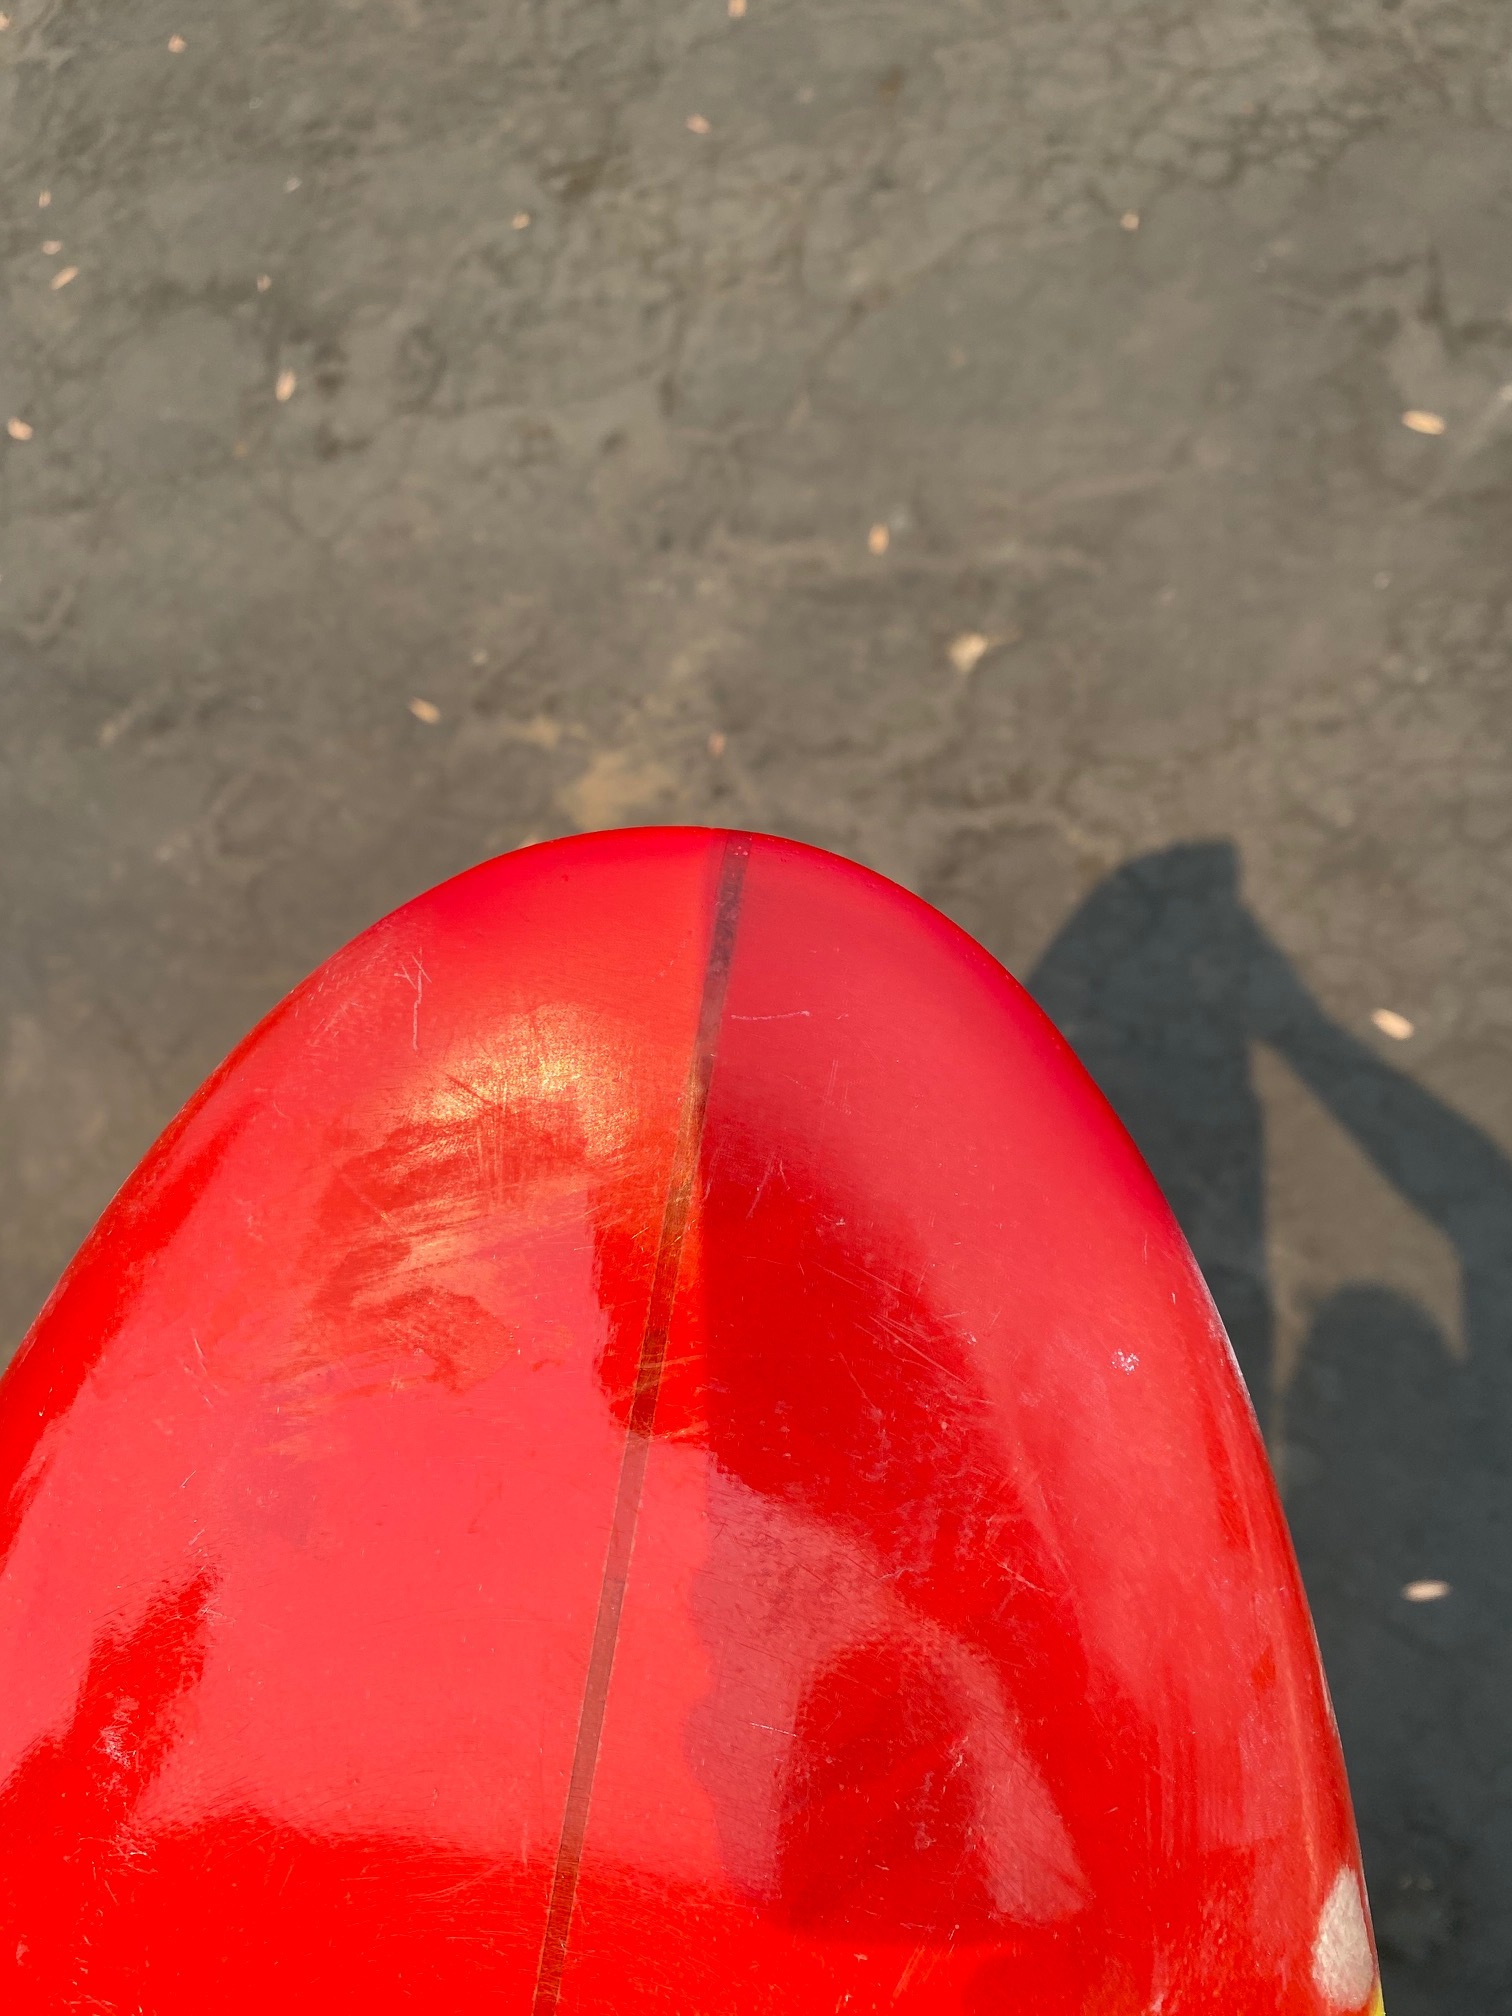
Okay, ding. But more of a shatter, gloss coat and hot coat damage. Banged it into something, right?  What I call a ‘garage ding’. They happen. Board bags, padded ones,  are a beautiful thing. Anyhow

You sanded it. Good job, you stopped at the right time, But 80 grit might be a little coarse, which is why you see a kind of pockmarked surface. Coarser paper tends to take chunks. Me, I would have used at least 120 grit and shot for ‘pretty smooth’. Finer paper takes longer, true, and it gums up faster, but at the same time it’s harder to do actual unintentional damage with it. But that’s fine. Get some finer paper, all the way to wet and dry 300 grit, you’ll want it for this and later stages… 

Now, filler. You’re right, you didn’t need any. If I were doing the job, for money, I might have tried just a gloss/hotcoat combination as you suggest.

How come? Look at the cloth. You see the surface texture of it where the clear resin went away, yeah, but it’s still saturated, you don’t see the whole weave of it as white fibers, the resin-cloth bond isn’t compromised. It’s fine, what ya have is more or less like a scratch in the clearcoat over the paint and body work on your car. Cosmetic. Even if there was a little of the fibers showing, I’ve used thinned resin well brushed in to resaturate it. So- 

A word about filler powders/thixotropic agents, and pigments and other stuff added to resin. See, they mostly tend to slow down the chemical reaction that happens as the resin hardens. You add pigment/tint to resin, it will go off slower. You get tempted to add more catalyst, don’t do it, be patient. With filler powders, whatever-o-sils, they can really slow down the reactions, by themselves. I tend to mix the stuff in to a peanut butter consistency, then add a very little catalyst and apply it. 

A very little? Yeah. See, when resin hardens, that’s what’s called an exothermic reaction. Exo-out, thermic-heat, it gives off heat. All fine, by itself, but the thing about chemical reactions is that when they are warmer they happen faster. With a thin coat of resin like laminating or glossing or hotcoating, you add catalyst and put on a thin layer. The reaction makes heat, but it’s thin, lots of surface area, the heat escapes. 

Filler, though, not so much. It’s put on or in in a thick layer, heat doesn’t escape, so the resin mix heats up…and the reaction goes faster. Which heats up even more. So it goes off even faster. See where this is going? We used to take the end of a batch of ding resin in the cup, add a bunch of catalyst, stir, set it down and stand back, it would smoke, wax melting on the paper cup, crackle, crack - life was dull at the surf shop, we made our own fun…  I once saw a guy use too much catalyst on the filler mix for a big ding, He slopped it (the filler goo)  in, masking tape coffer dam mold for it, and he took off for the day. It got so hot it actually set fire to the foam. Left a black soot layer on the inside of the glass, no foam. That was different. 

So, what are you gonna do now? You’re right, sand it down, make the filler go away. Carefully, this is where you use your 80 grit, but in stages, so you don’t overheat it. Don’t use a sanding block, it sands things flat and takes corners off, right down into the cloth and foam. 

Get to where there’s just a little filler left, use finer paper, carefully. Hopefully the filler isn’t sticking to the cloth and you can get it all out, if it is sticking you either accept it and sand it all smooth and live with the whitish blotch or else go at it with something fine, hardware stores sell things that look like dentist’s tools that work for that. It’s tedious, but think of it as a reminder of when and where not to use filler. You’ll remember it. I did. 

Now, if the filler came away nice and you didnt sand or pick into the cloth, great, Again, use your picks and get any loose gloss out, then give it a thick coat of clear resin, brushing it thinner at the edges. You’re shooting for a smooth layer, if there’s some divots and such, sand lightly and give it a second coat. Then sand, finer and finer, to the finest stuff you have, polish, perfect. 

Okay, if the filler didn’t all go away, you sanded it smooth, now use some paint or better yet artist’s paint markers, just on the filler, for color match or just accept it, your call, Now you do need cloth over it, Don’t go with color in the cloth, you get a blotch of that color where it laps past the filler. I would go with a single layer of 4 oz, lay the resin on with a brush, not too thick, bush out the excess so you see weave. Sand lightly, feather the edges, then do the gloss thing I described before.

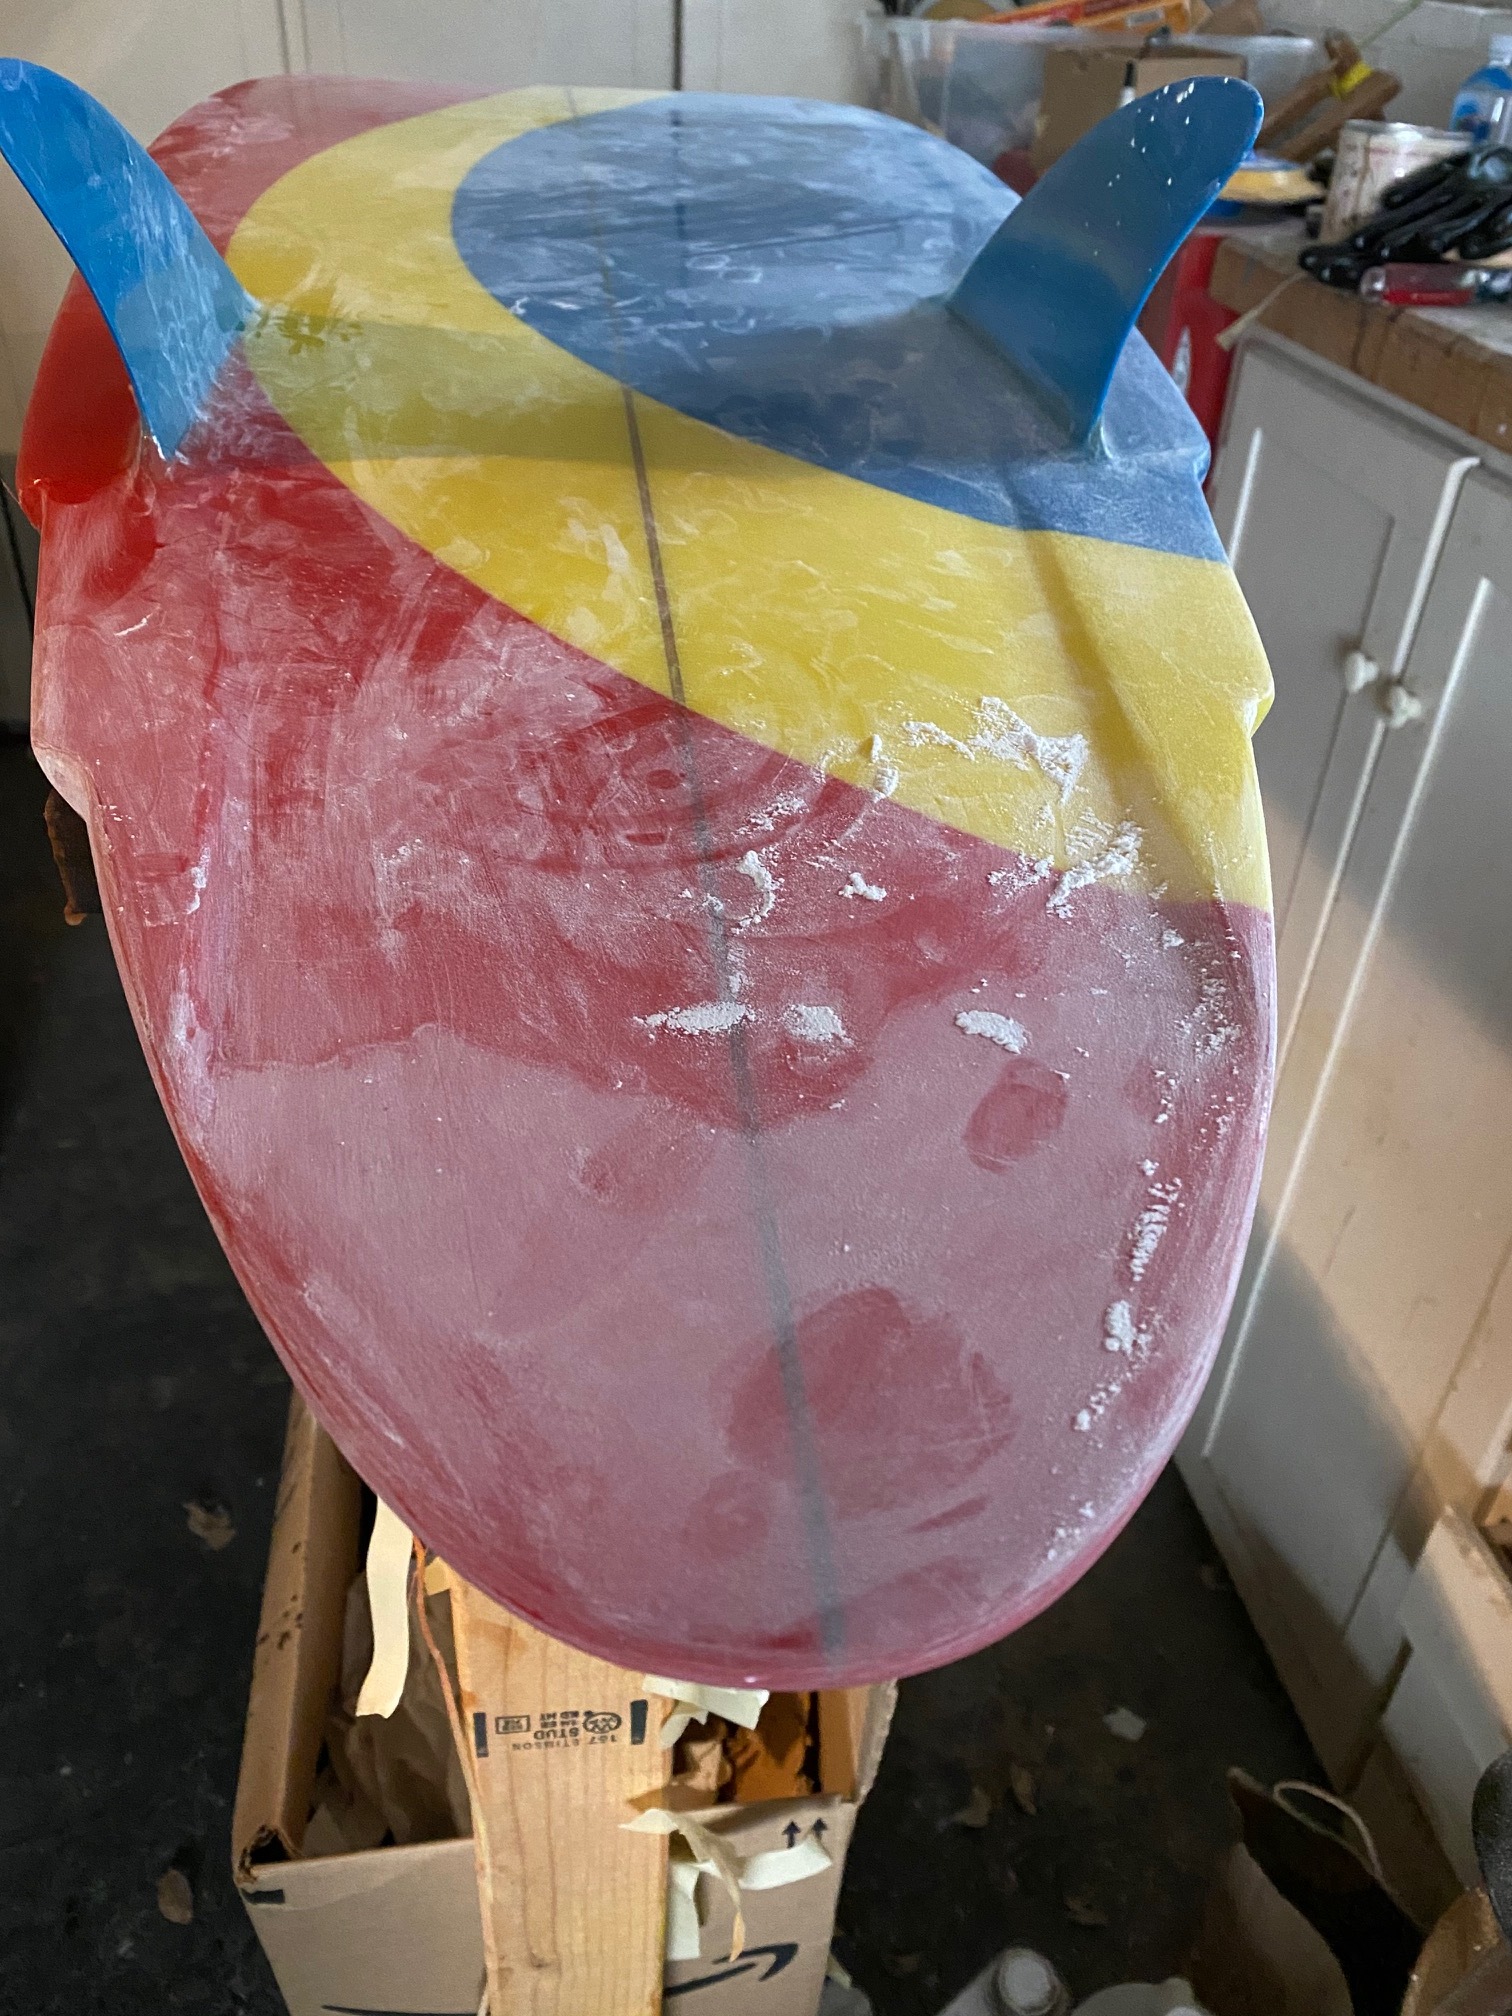
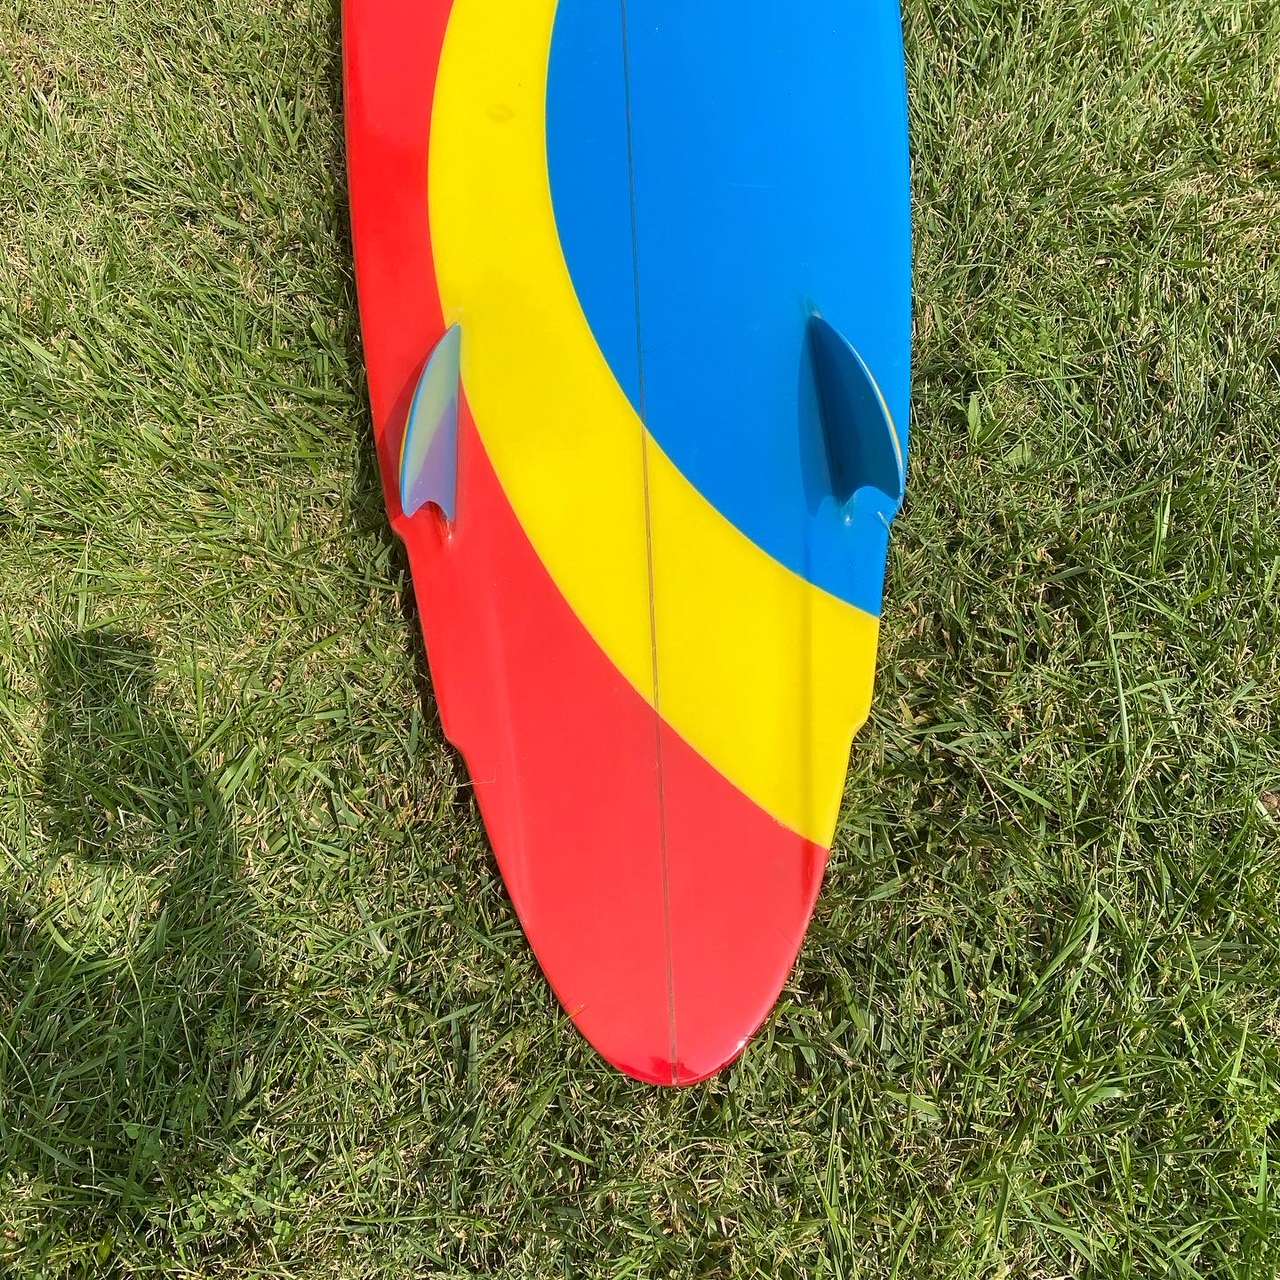
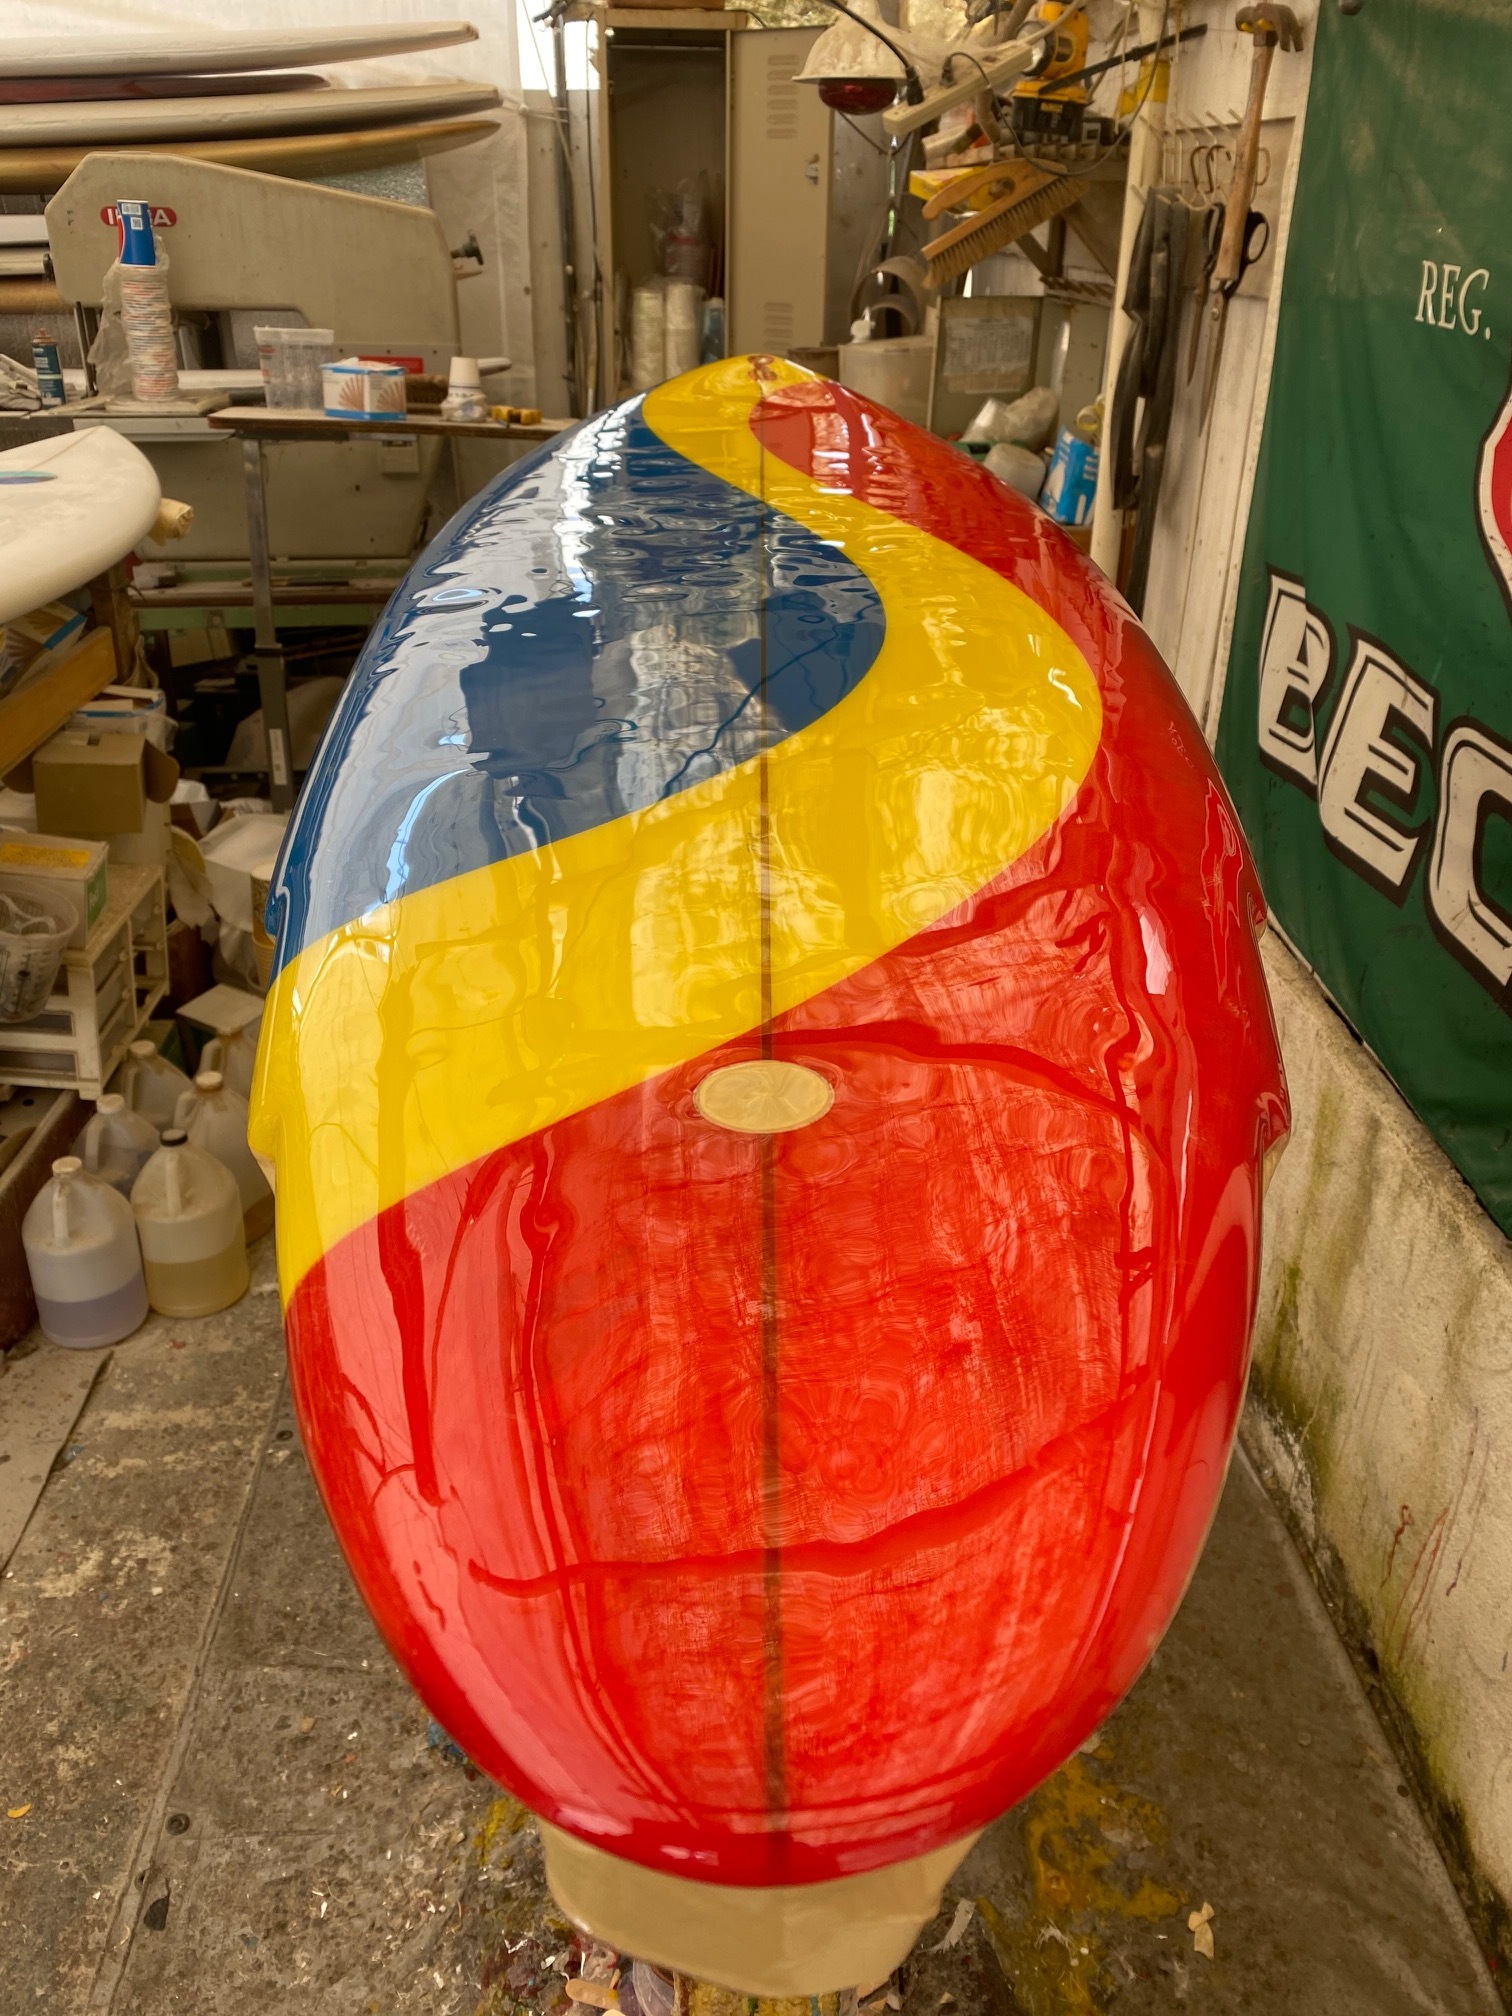
And there you have it…except for one last thing. I mentioned board bags being your friend for garage dings. Well, you have a dark colored board. They heat up in the sun, which does them no good. The reason Mickey Dora Black Greg Noll Cats are rare is they mostly cooked, on a hot day you could watch the delamination spread under the cloth like this really disgusting living blister out of a '60s science fiction movie. Even clear boards get browned by the sun eventually, and I don’t think it does them any good. My own boards ( which are all clear) live in board bags when not in use… Anyhow

hope that’s of use

doc… 

Okay, update, having seen ‘as sanded’. 

Good, all the filler is gone. Nice job. 

And you didn’t eat into the cloth, from what I can see, also good. So, it’s still only cosmetic. 

Wipe the area with some acetone, to get the dust and those marks off. It will also etch the gloss slightly, makes a better bond. 

Take a very little resin in the bottom of a paper cup, add a very little acetone. You are shooting for the viscocity of milk, lets say. Add catalyst, not that much, brush it into the ding and the pores well. Work it in. The resin shgould fill the pores, saturate the weave and fibers you see, 

. Let the first coat harden a little to ‘tacky’, brush on full strength resin on before the first coat hardens completely- if it hardens completely you will need to sand it before the second coat, otherwise it probably won’t stick. . Flow it on, feather the edges with your brush a little, wet sand and polish when it’s fully hardened, done. You don’t need cloth. 

hope that’s of use

doc…

Thank you doc.  The filler above the normal surface is gone.  I think some filler definitely is still there, bonded with the cloth from normal surface inward.

If I understand your posts correctly: at this point, I can just apply your earlier suggestion to use finer grit to sand a bit more, then apply your 2nd suggestion of coating.  No fiberglassing.

Good tip on acetone!  Going out to buy some.

Umm, yeah, I would just carefully remove the loose/cracked clear resin bits you see, again those dental tool like things are good for that, or an X-acto knife used Very Carefully, you’ve probably sanded enough and more risks chewing into the existing cloth, your call, I’d accept what little bits of filler are there and call it a day, when glossed they will hardly show.

Acetone is handy stuff, though a lot of exposure isn’t good for your liver. Cleaning good brushes, thinning resin, cleanup where you don’t want to leave residue. Flammable as hell, though, careful with stowage. For what it’s worth, acetone can bring back high end bristle paint/varnish brushes that have hardened up and would be tossed, and those things are expensive.Styrene monomer is probably the ideal thinner for polyester resin, but there’s not a whole lot of other uses for it and it’s nasty stuff to inhale. 

You probably know this already, but as you go finer and finer with sandpaper, it’s good to sand at about 45-90 degrees from the direction you used with the previous, it takes the sanding marks out a skosh better,.Not for wood, but a good practice with surfaces like paint or resin or metal. 

hope that’s of use

doc…

Hi; you ask about to sand the repair area etc. Seems do you not completely read what I wrote or did not understood the steps.

Do exactly that and you would not have any problems.

You always use fiberglass; in fact, the resin is only a glue the reinforcement is with some kind of fiber; in this case: fiberglass.

Normally with those types of dings; that look easy; many times, where the cloth is exposed if you pressure a bit with a finger you can notice a softer part and that is the foam that is a bit compressed. Nothing of that is satisfactory done with only resin.

All; absolutely all the dings should have fiberglass. Almost all the holes, you need to fill with foam. But I mentioned all that in the other comment,

Do that way. I build high end surfboard for a living. I am not trying to cheat on you.


Sand it down, clean with acetone and use bondo for that particular shatter…

Here you go…all in pictures. How I do it:

prep, fill, shape, spray, glass, sand, gloss, polish…boom done


-Resinhead


Not to derail the thread, but what did you use to color match Resinhead? It looks pretty, flawless, and unnoticable. 

Liquitex paint…a little cadium red, and burnt orange, usually turns out slightly darker than original color, but fades faster than original.   Throw it in a 2 stage touch up gun. just fog it on in 4-5 micro coats.   

Thanks! That is more detail than I was expecting. I was just curious if you painted it or tinted the resin.

Thanks everyone!  Quite a learning experience.  I sort of combined everyone’s advice.  Put on 2 pieces of 4oz glass.  Wait overnight.  Hot coated.  Waited for 8 hours.  Then sanded.

Touching the area - it feels even with rest of board.  However, (1) the repair doesn’t feel smooth (may have too little hot coat resin) and (2) it looks terrible now!  

Pics: https://imgur.com/a/QVBTVBV

Questions:

(1) There are some white stuff in the weave.  I don’t know what they are.  Guesses are either the newly-put on glasses being sanded away (may have used too little hoat coat resin), OR there are air bubbles when I was doing laminating.  

(2) How to sand it even smoother?  After hot coating I used 150, 220, 300, 400, 600, 1200 grit sandpapers.  Starting at 220 wetsanded.

Awright, a few things. 

First off, are you sure that was 4 oz cloth? Looks a little heavier to me, though that may be the photo.

Next, in something like this, it;'s good to put the cloth onto a little resin brushed in to fill the crevices and such, then brush in resin, barely filling the weave and brushing out the excess. In new board building they use a squeegee to do that, but a job this small it’s kinda awkward. Instead,  I’ve been known to cut down the bristles on a 1" throwaway /chip brush to get it stiffer and more effective at that little job. 

Awright, now, you should have ***** sanded the bejeezus out of the cloth when the resin hardened up overnight, before even thinking of putting on a hot coat. Sand it smootrh, feather the edges, especially where you see those single strands sticking out, feathering down the edges and making it smooth, so you run your fingertips across it and feel nothing, Yeah, you sand into the weave of the new cloth. There is perfectly good cloth underneath it, it doesn’t matter.

The white - that may be some wee bits of filler left over, it may be air under the cloth. Well, you’re stuck with it now. 

So - you can still fix this. Get out that 80 grit you had and sand the crap out of this, get it smooth and flat so it doesn’t rise above the rest of the board, maybe go to 100-120 grit for a last pass… Give it a wee wash with acetone to get the dust out/off (this is important, a little dust will mess up your gloss/hotcoat) and then let that dry,then give it a light hotcoat/gloss that you can hit with wet sandpaper and polish, though if ya do it right it won’t need much.

Trick- mask around the area you’re giving said thin hotcoat/gloss and remove the tape, the edge of the resin coat ya brushed on sort of collapses and that in turn minimises your sanding and polishing.

And then you’re done - 

  • Footnote “You should have*” -skipped the f’ing cloth, in all honesty. Two layers was way over the top.  Yeah, some will say you need it even on a little superficial crunch in the hotcoat/ gloss like this one, but you want to use your eyes and your judgement. The Prussian strategist and philosopher Von Clausewitz (sic?) wrote that ‘perfection is the mortal enemy of good enough’. In this case, turning a simple and easy cosmetic fix into a project. 

hope that’s of use. 

doc…

Thank you doc. It’s 4oz cloth from the Ding All repair kit. The bristles on my brush…some hairs actually fell off/got stuck onto the resin while laminating and hot coating; this made me think the small chip brush is not the right kind.  Speaking of that, the white (noted from previous advice) rag I used also seems wrong - with some acetone dipped and applying it on the board, some threads fell out and stuck to the board as well.

Anyways… guess I’ll get to work tomorrow.  (And maybe go buy suitable rags and brushes)

Okay, there is an old painters’ trick I use with the chip brushes, or any finish brush for that matter, including paintbrushes. Get a cheap pocket comb, one of those 25 cent deals, that has both coarse and fine halves to it. Use first the coarse and then the fine halves on said brush, that gets a lot of the loose bristles. 

Hmmm- haven’t really had that sort of problem with the rags. I use the bags of rags in white I get from the hardware store, usually the knit cotton T-shirt material, they come in 1 lb and 5 lb sizes., If you get one that feels funny and might shed threads, use it for checking your oil or whatever. Said rags also make good Covid mask material, handy to have these days. Also, avoid using the edge of the rag on stuff, or scrubbing real hard,  you can pull threads loose there. Just fold it and you’ll be fine. 

hope that;'s of use

doc…