I’m just gonna start a thread on this, as this is kinda an area of current interest - fixing up old or used boards. The goal here is to take my repair skills to the next level.
I especially need to work on color matching my ding repairs. Its not as easy as it seems like it should be. Up til now I’ve gone with “close enough”, and even when I take the time to carefully match the color, then I use that batch for the whole board. But the colors vary around the board, some areas had more sun, or more water darkening, so (note to self) I really need to mix a separate batch for every single ding.
The other thing that makes it hard is that different colors need far different ratios to make an impact. A little white barely shows, a tiny tiny little bit of brown just takes over, same with green. So you think a little of this a little of that, but then its so easy to go too much on one color, then you’re trying to undo the damage by adding more of something else…
I have a couple longboards I recently bought pretty cheap, and I’m doing ding repairs etc to get them water worthy again. More extensive than just ding repair, but not a “restoration” or “renovation” in the sense most people use the terms. I personally don’t like when people take an old board and try to make it look “new again”, to me it never does.
So I’ll post photos as I have something to show, I’m not in a hurry just tinkering at it in my spare time.
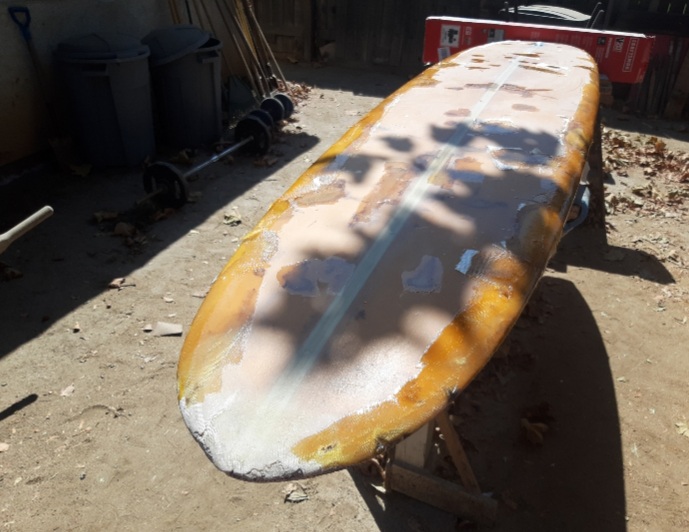
First up is this Dewey Weber 9-6, it has issues but the price was right. There were some nasty attempts at ding repairs that had to be grinded off. The foam has shrunk back a bit leaving the stringers standing proud. And there is a bit of twist to the board.
I made a filler using the regular thickeners, but I also added some foam dust. It made the filler look like stucco, but sanded smooth and worked fine.
There are a million little dimples, I don’t want to use filler on those cuz it just makes them more noticeable, but I don’t plan to leave them, I plan to fill them with fiberglass and resin as thats less noticeable than filler.
All the above is stuff I’m gonna try to address
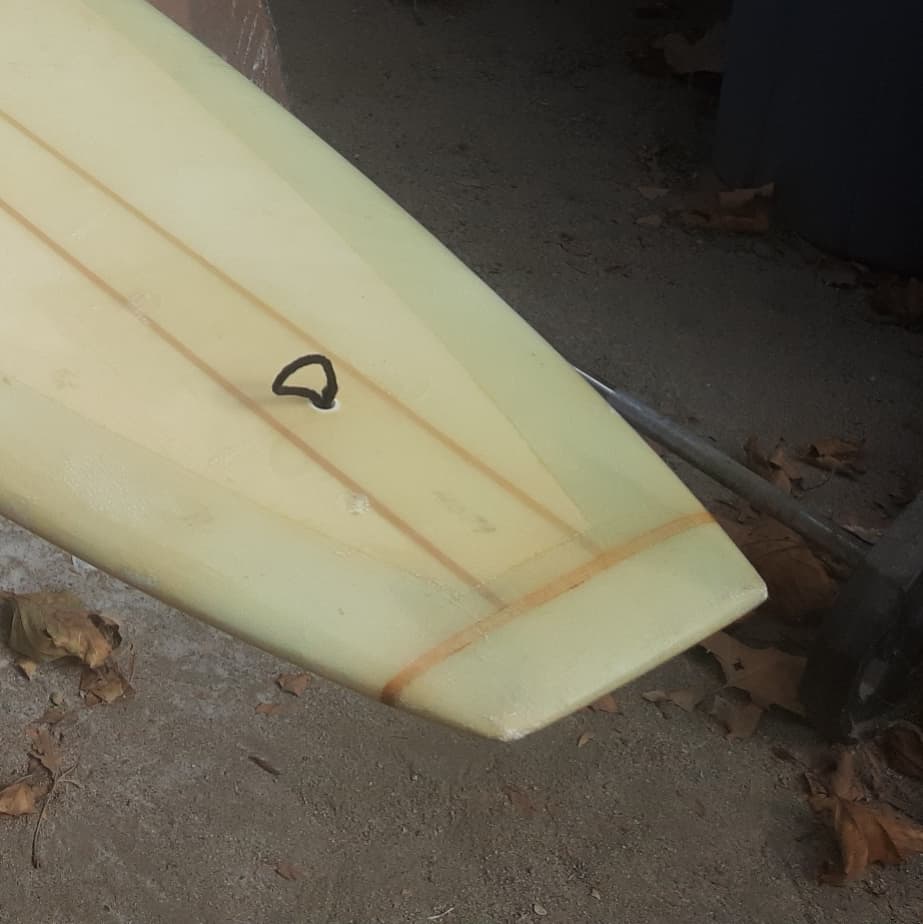
In the last pic I’m using weight and clamps to twist it in the opposite direction. Figured its worth a try. Prob do this every night for awhile.