


Very nice, very John Galera-influenced. Keep us posted on how it works, please
doc…
Doc,
I’m not familiar with the work of John Galera. Any similarity is coincidental. The channel design is phyics based.
Unfortunately, the soonest I might be able to test it is next summer (CoVid grounded). Besides, I’m too old to be a credible test pilot.
Happy to send you a channel insert (“cartridge”) for testing.
Bill
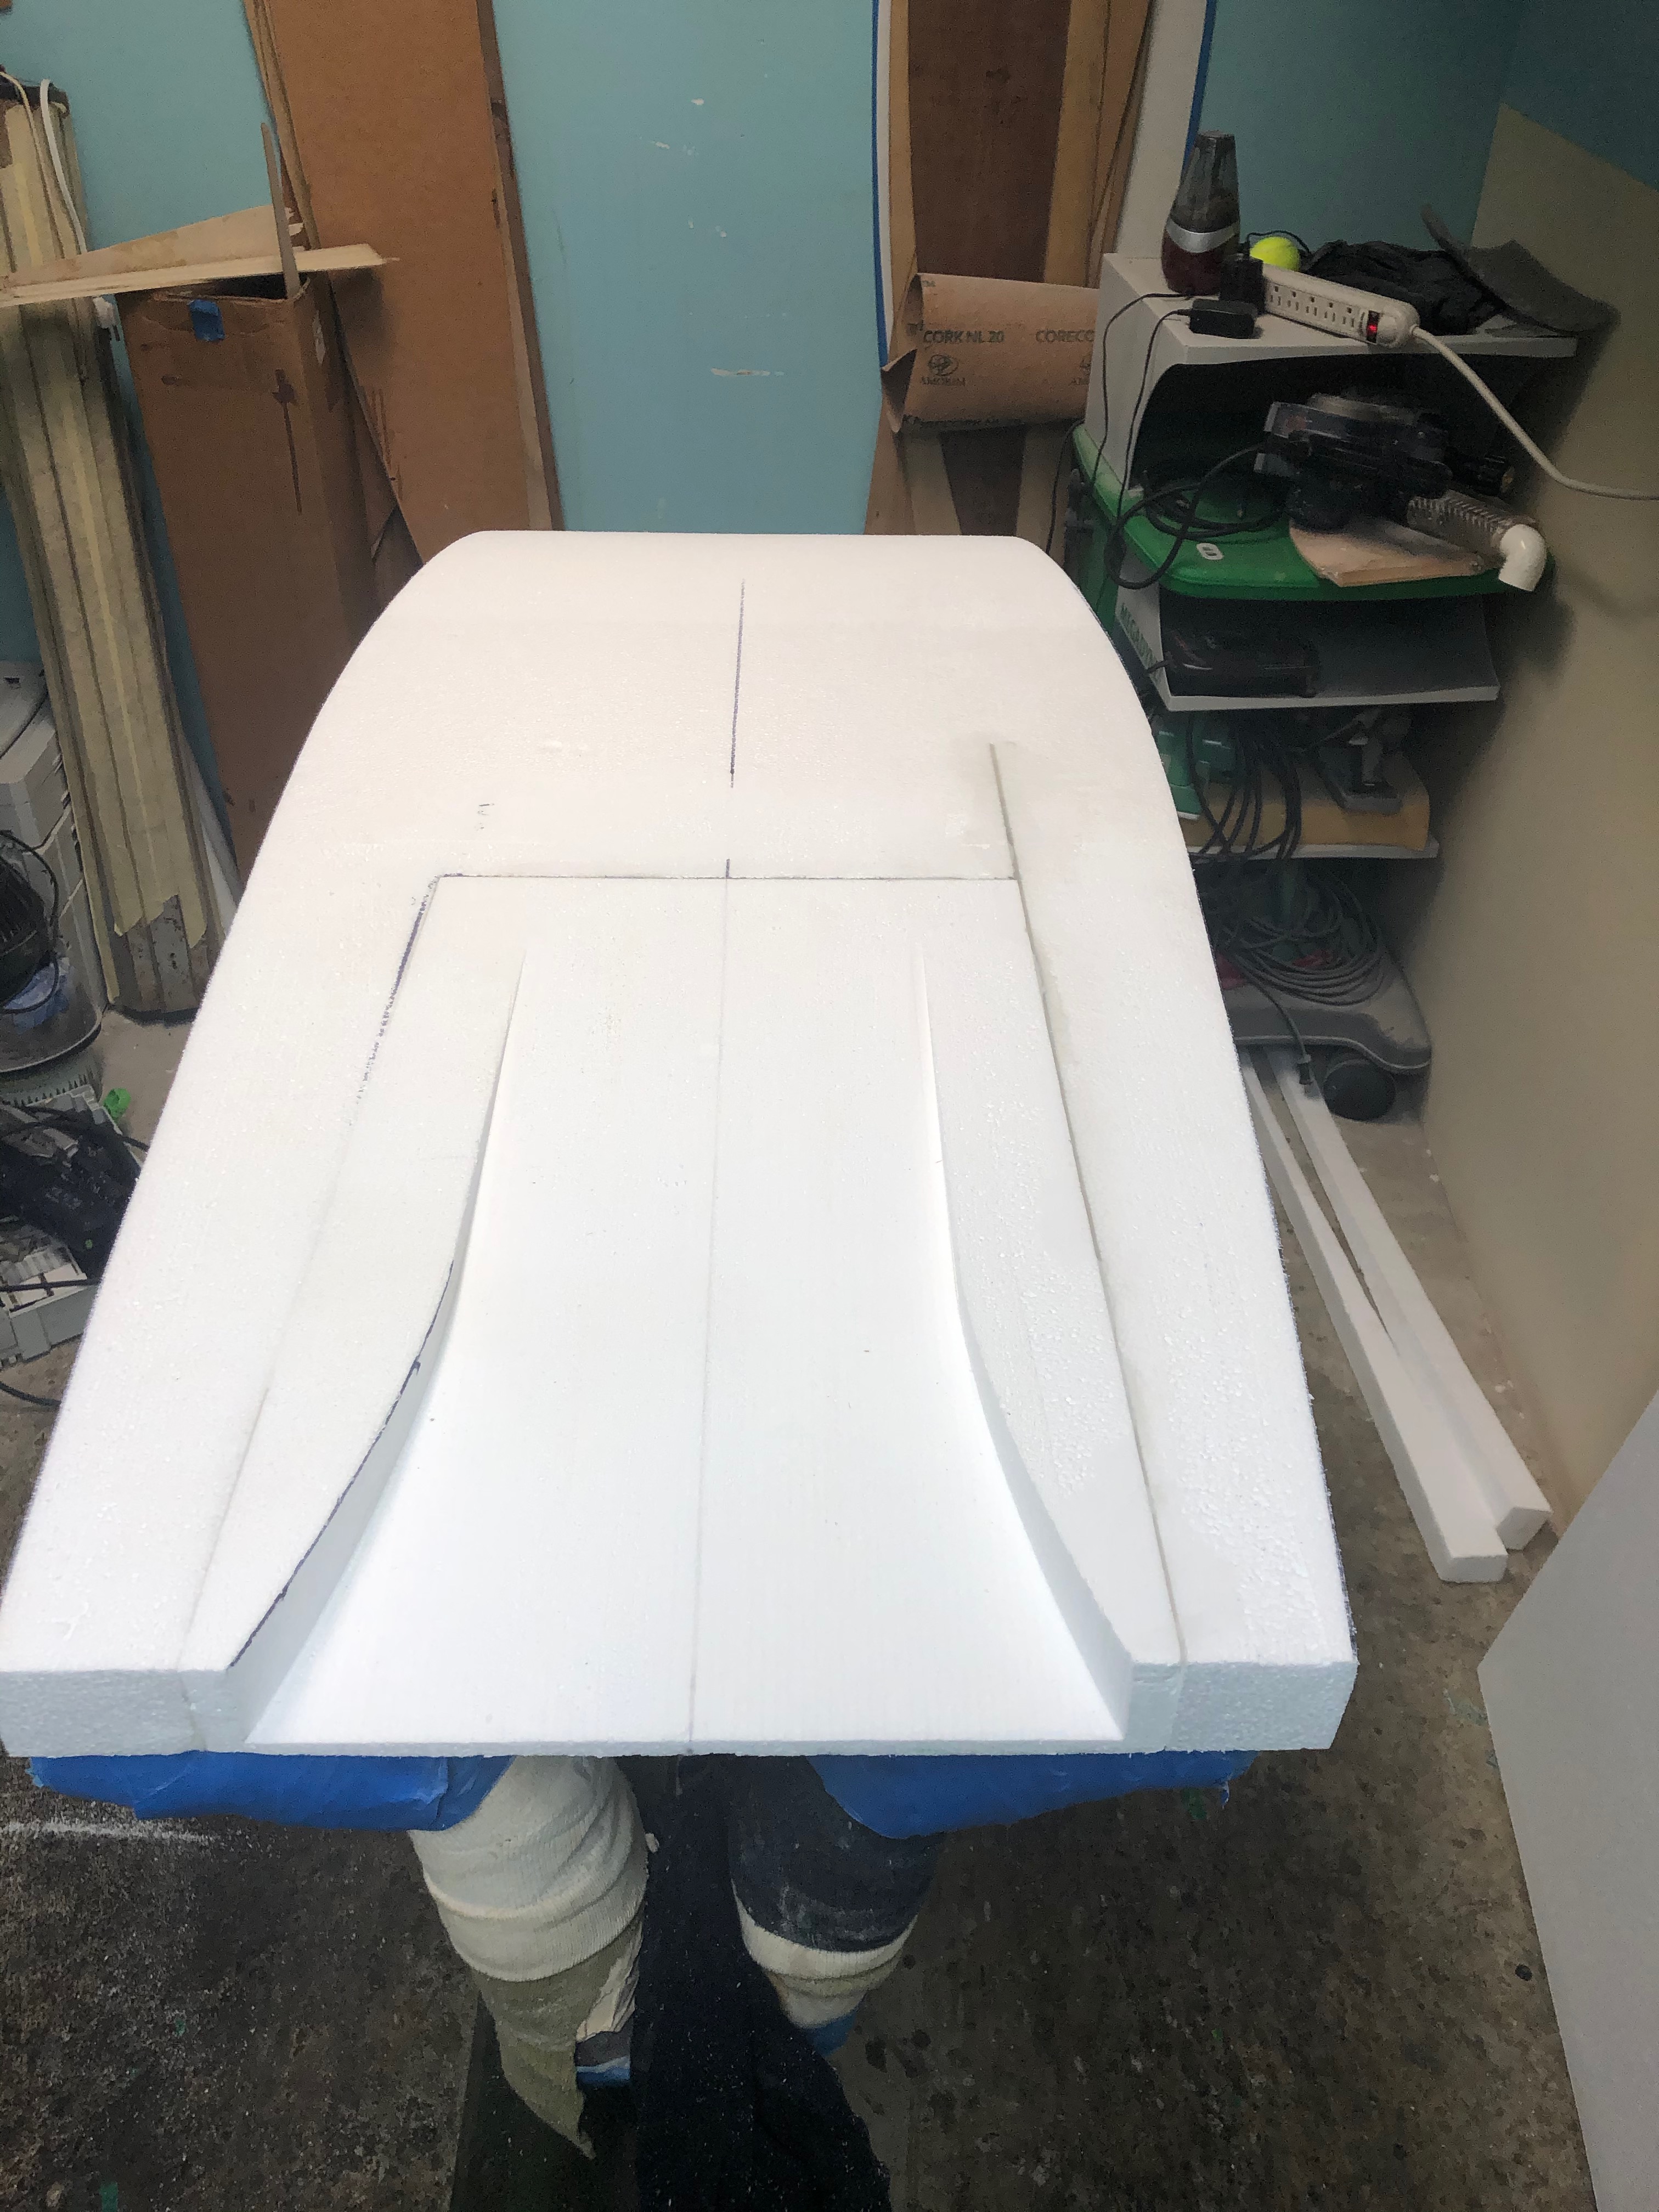
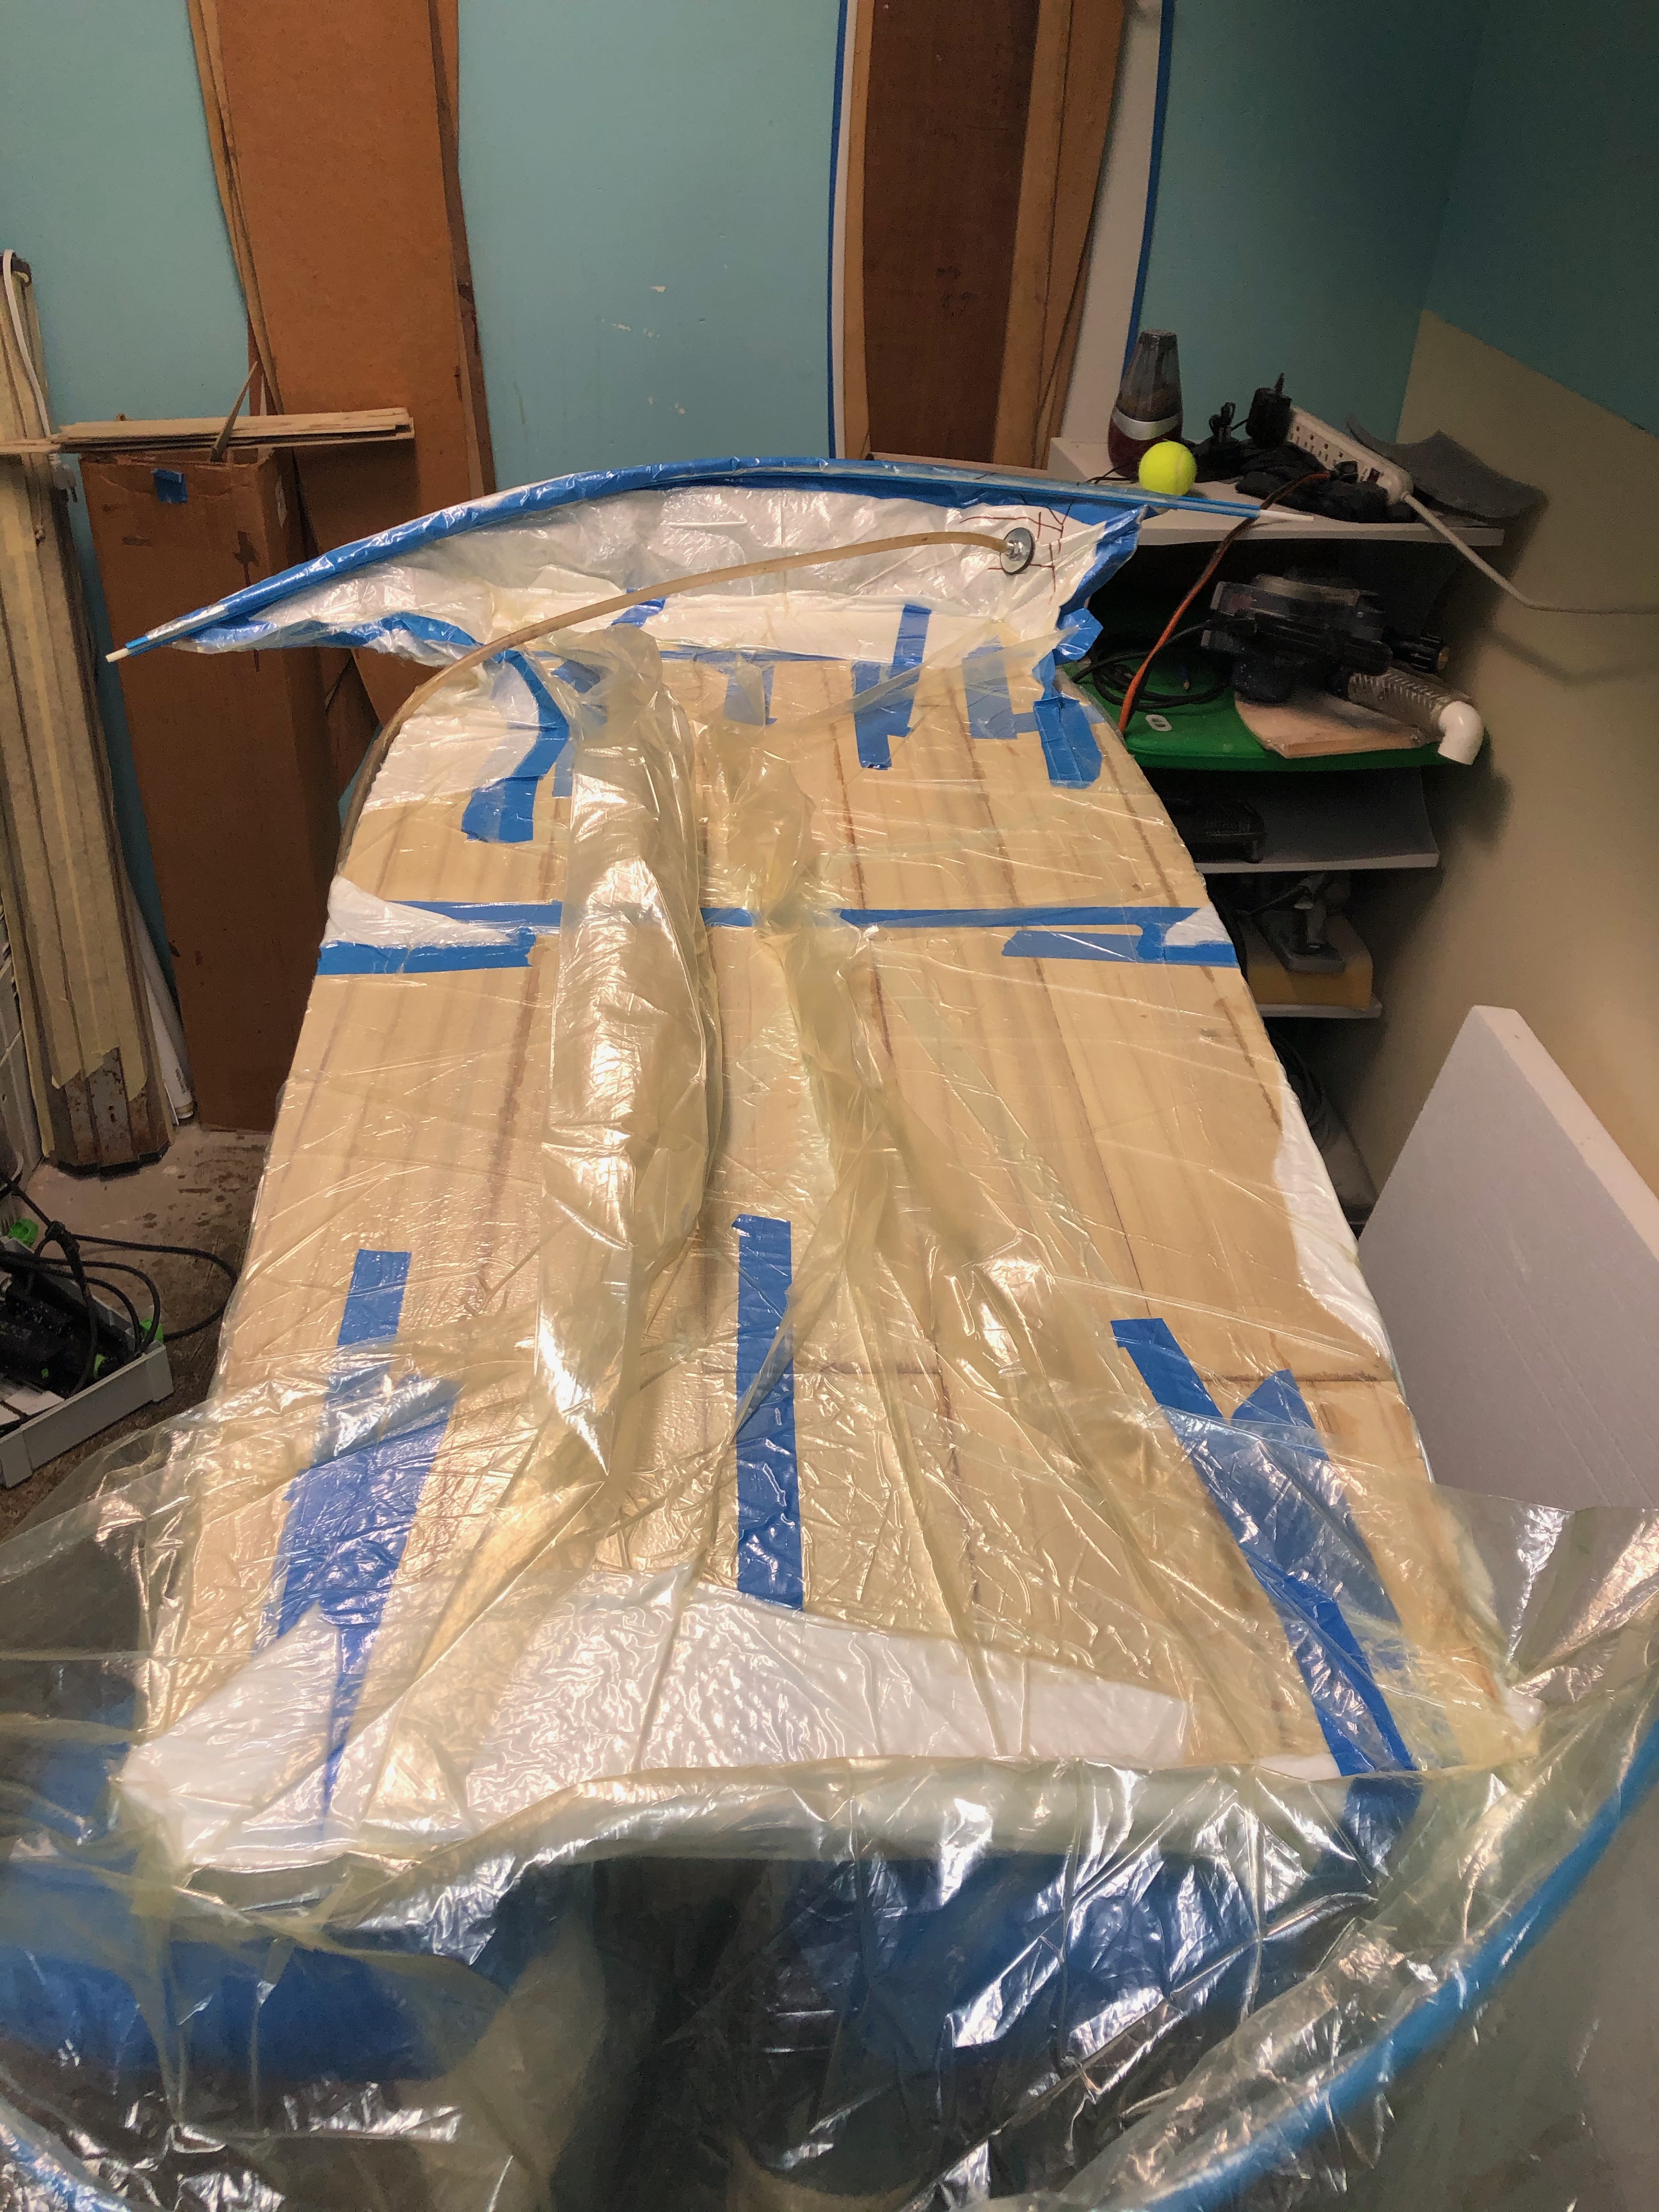
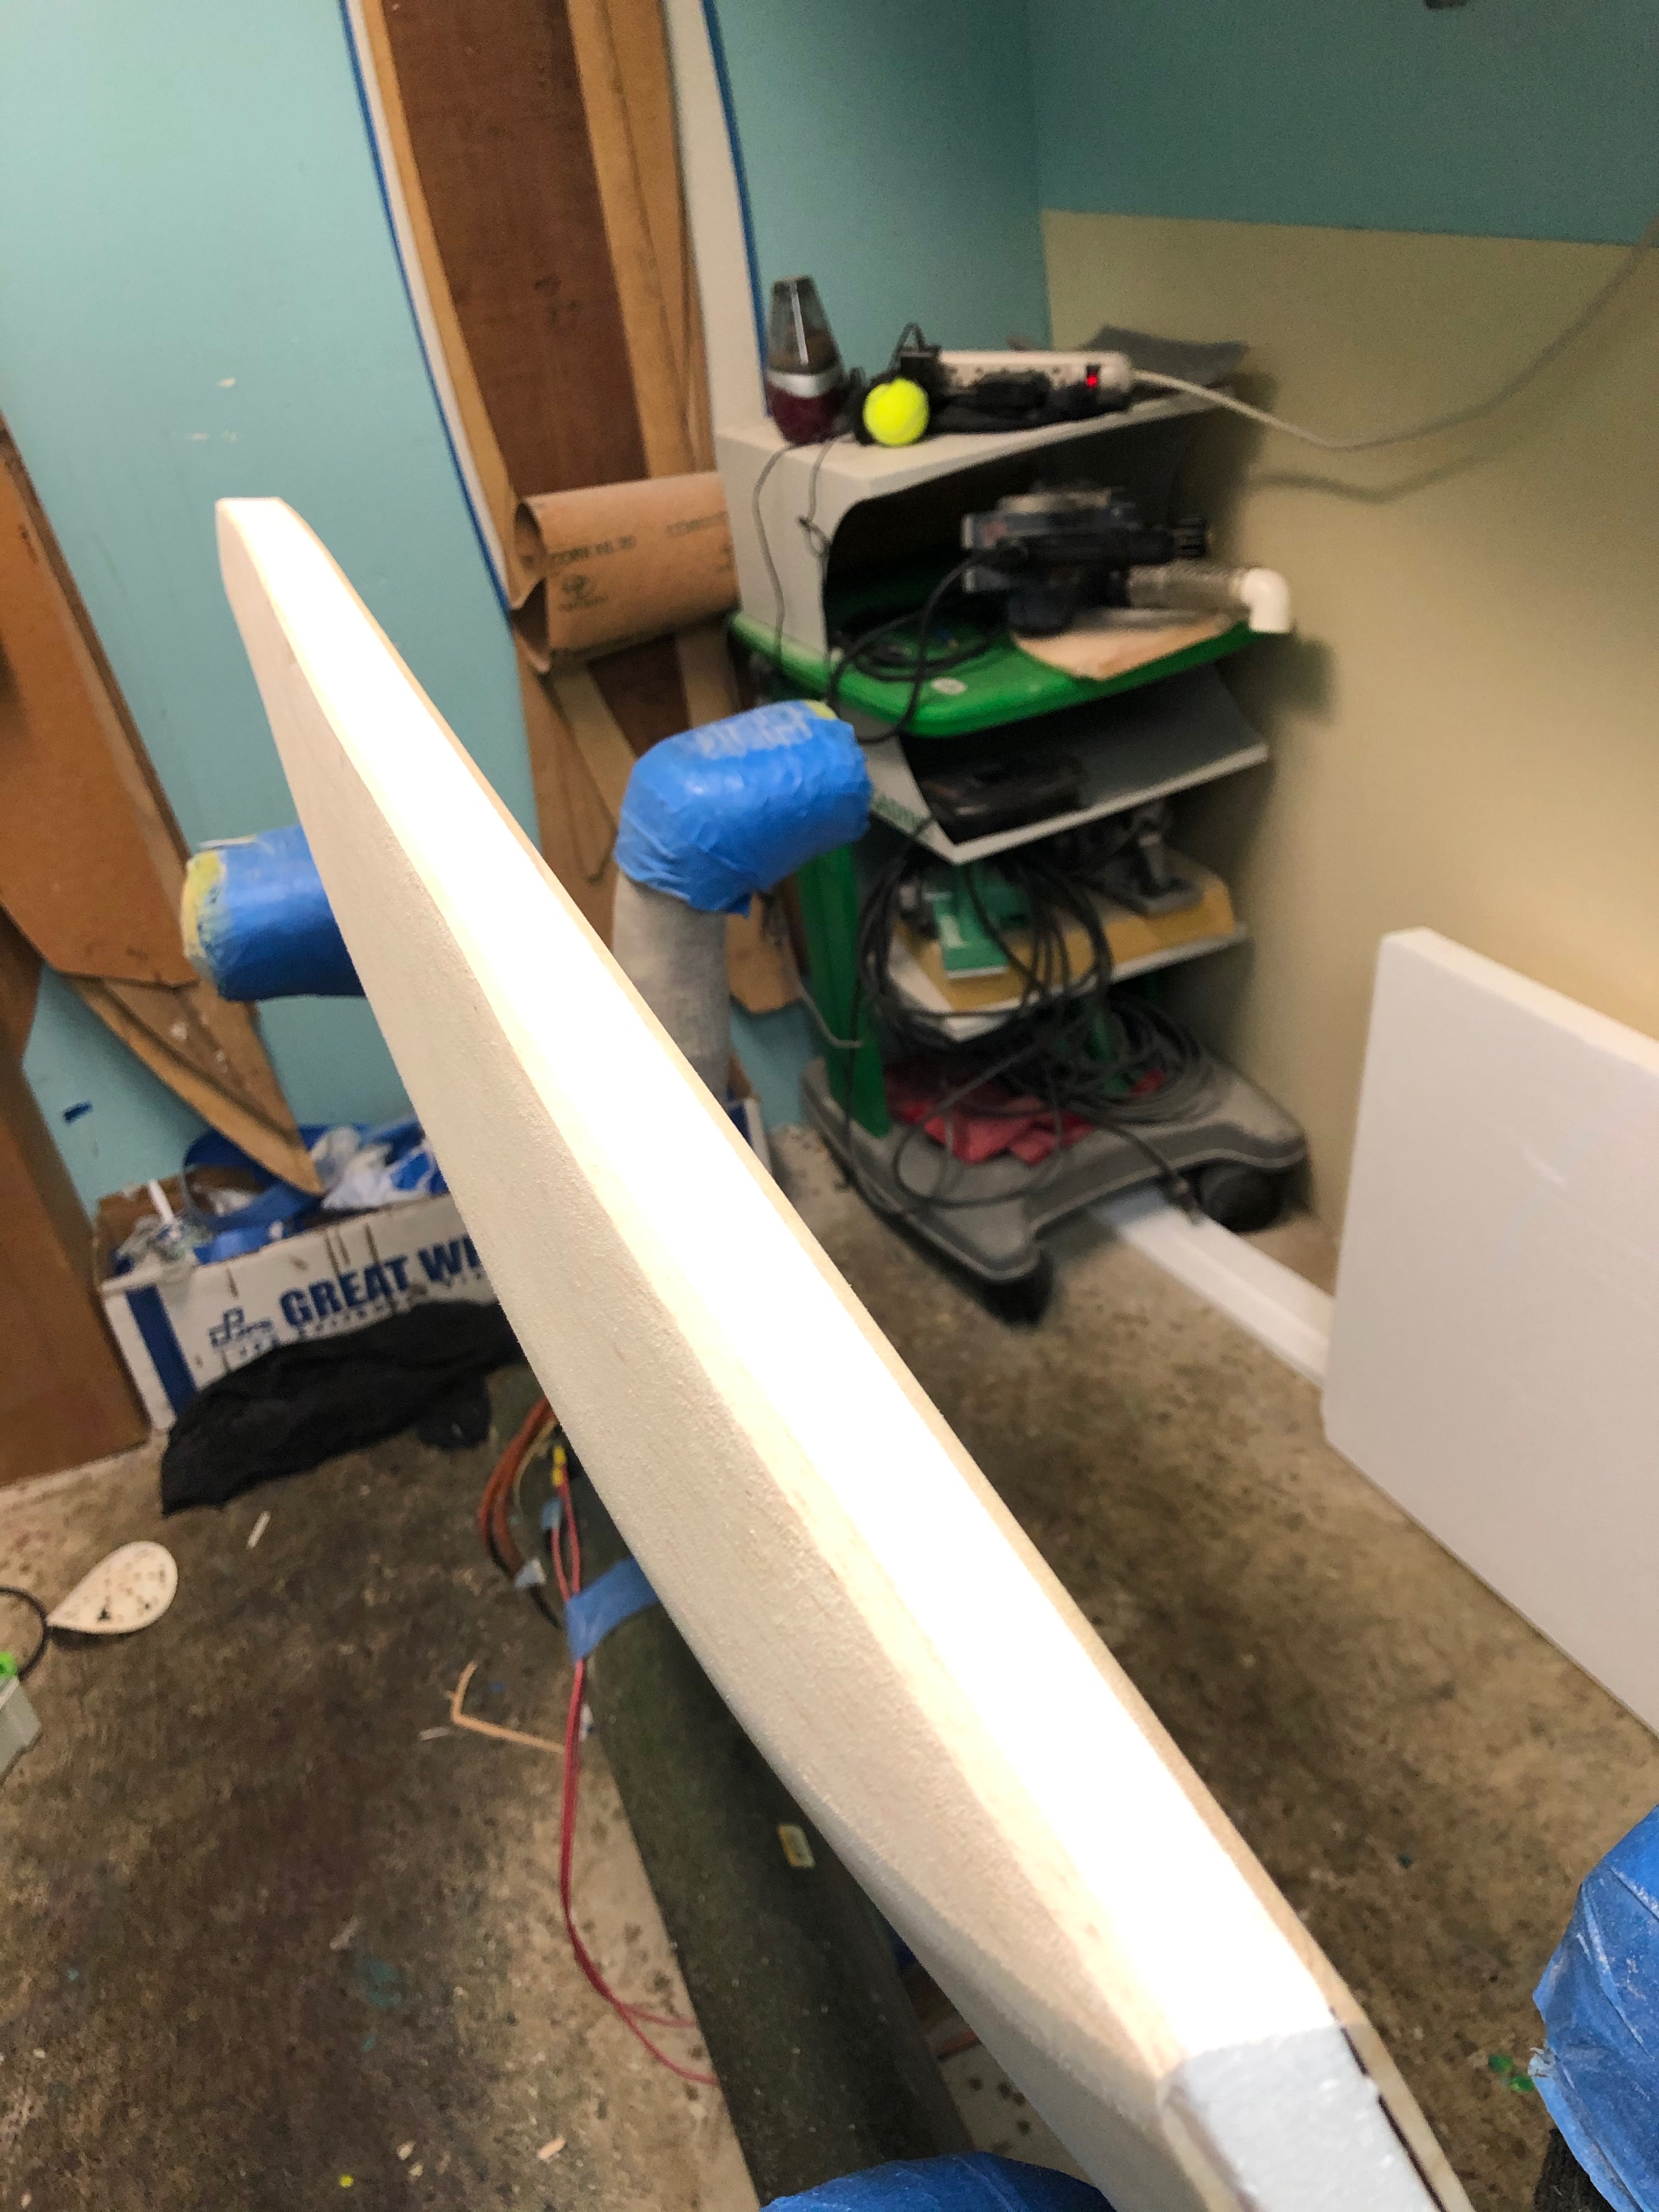
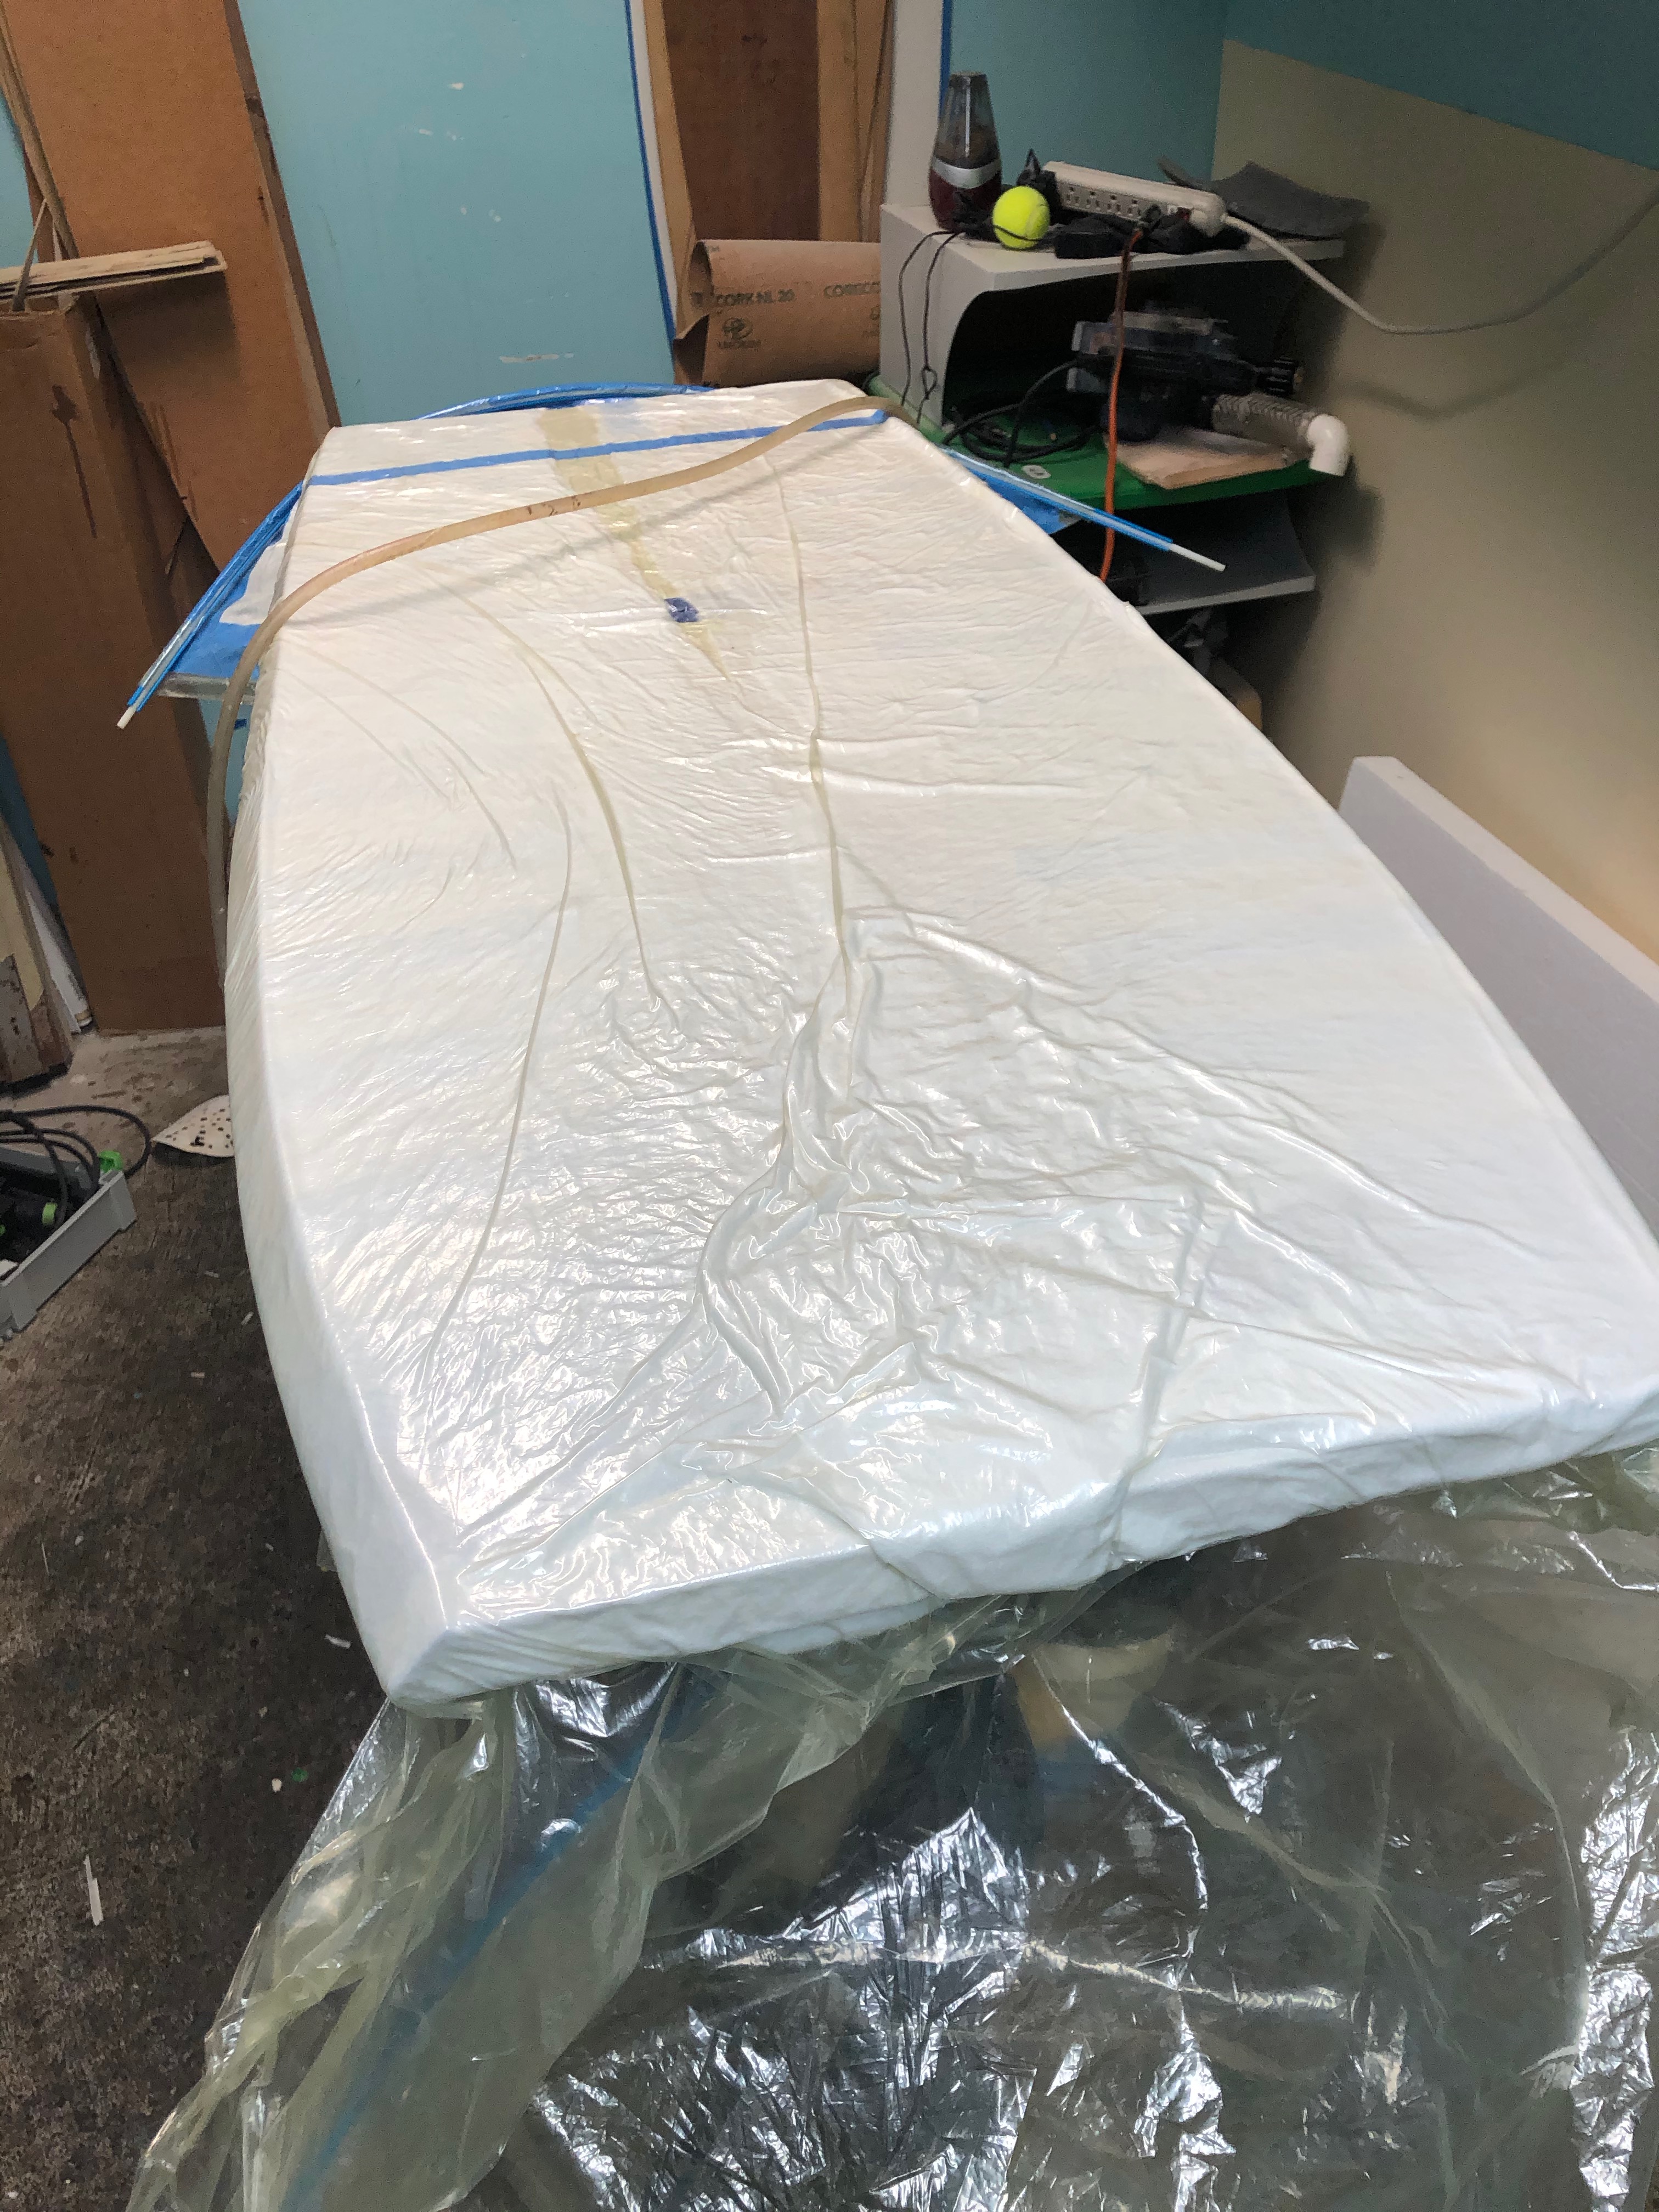
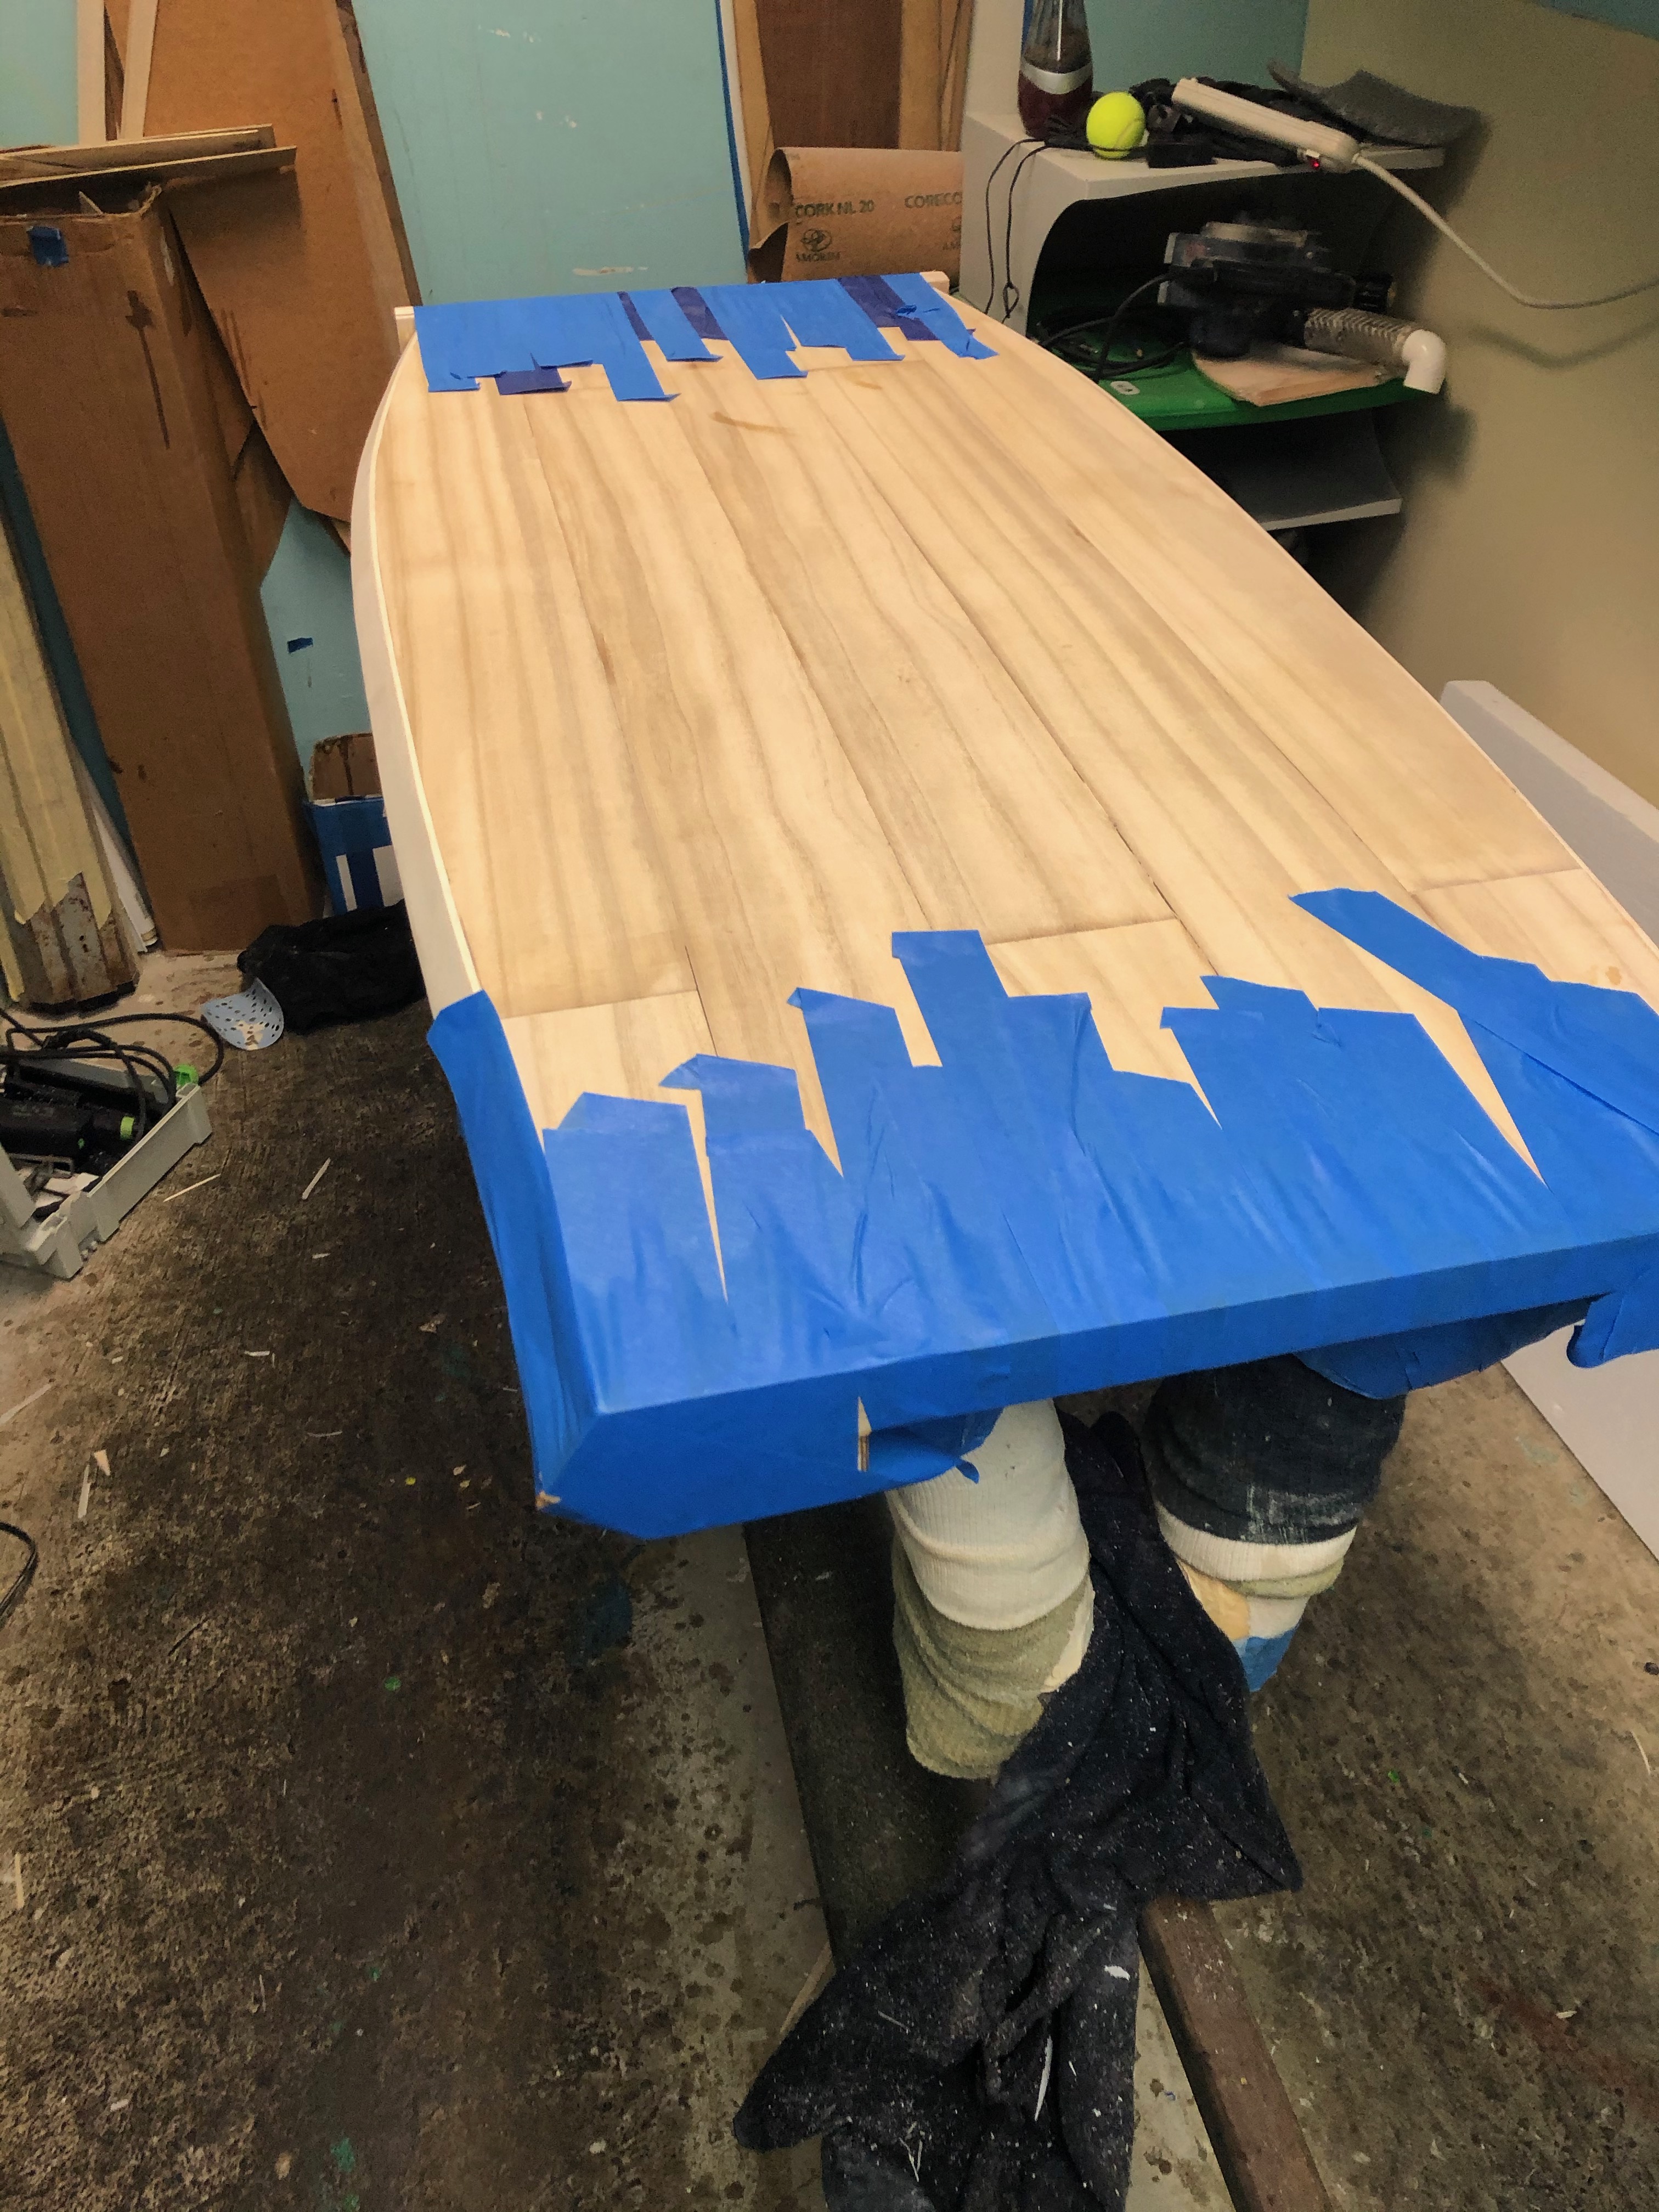
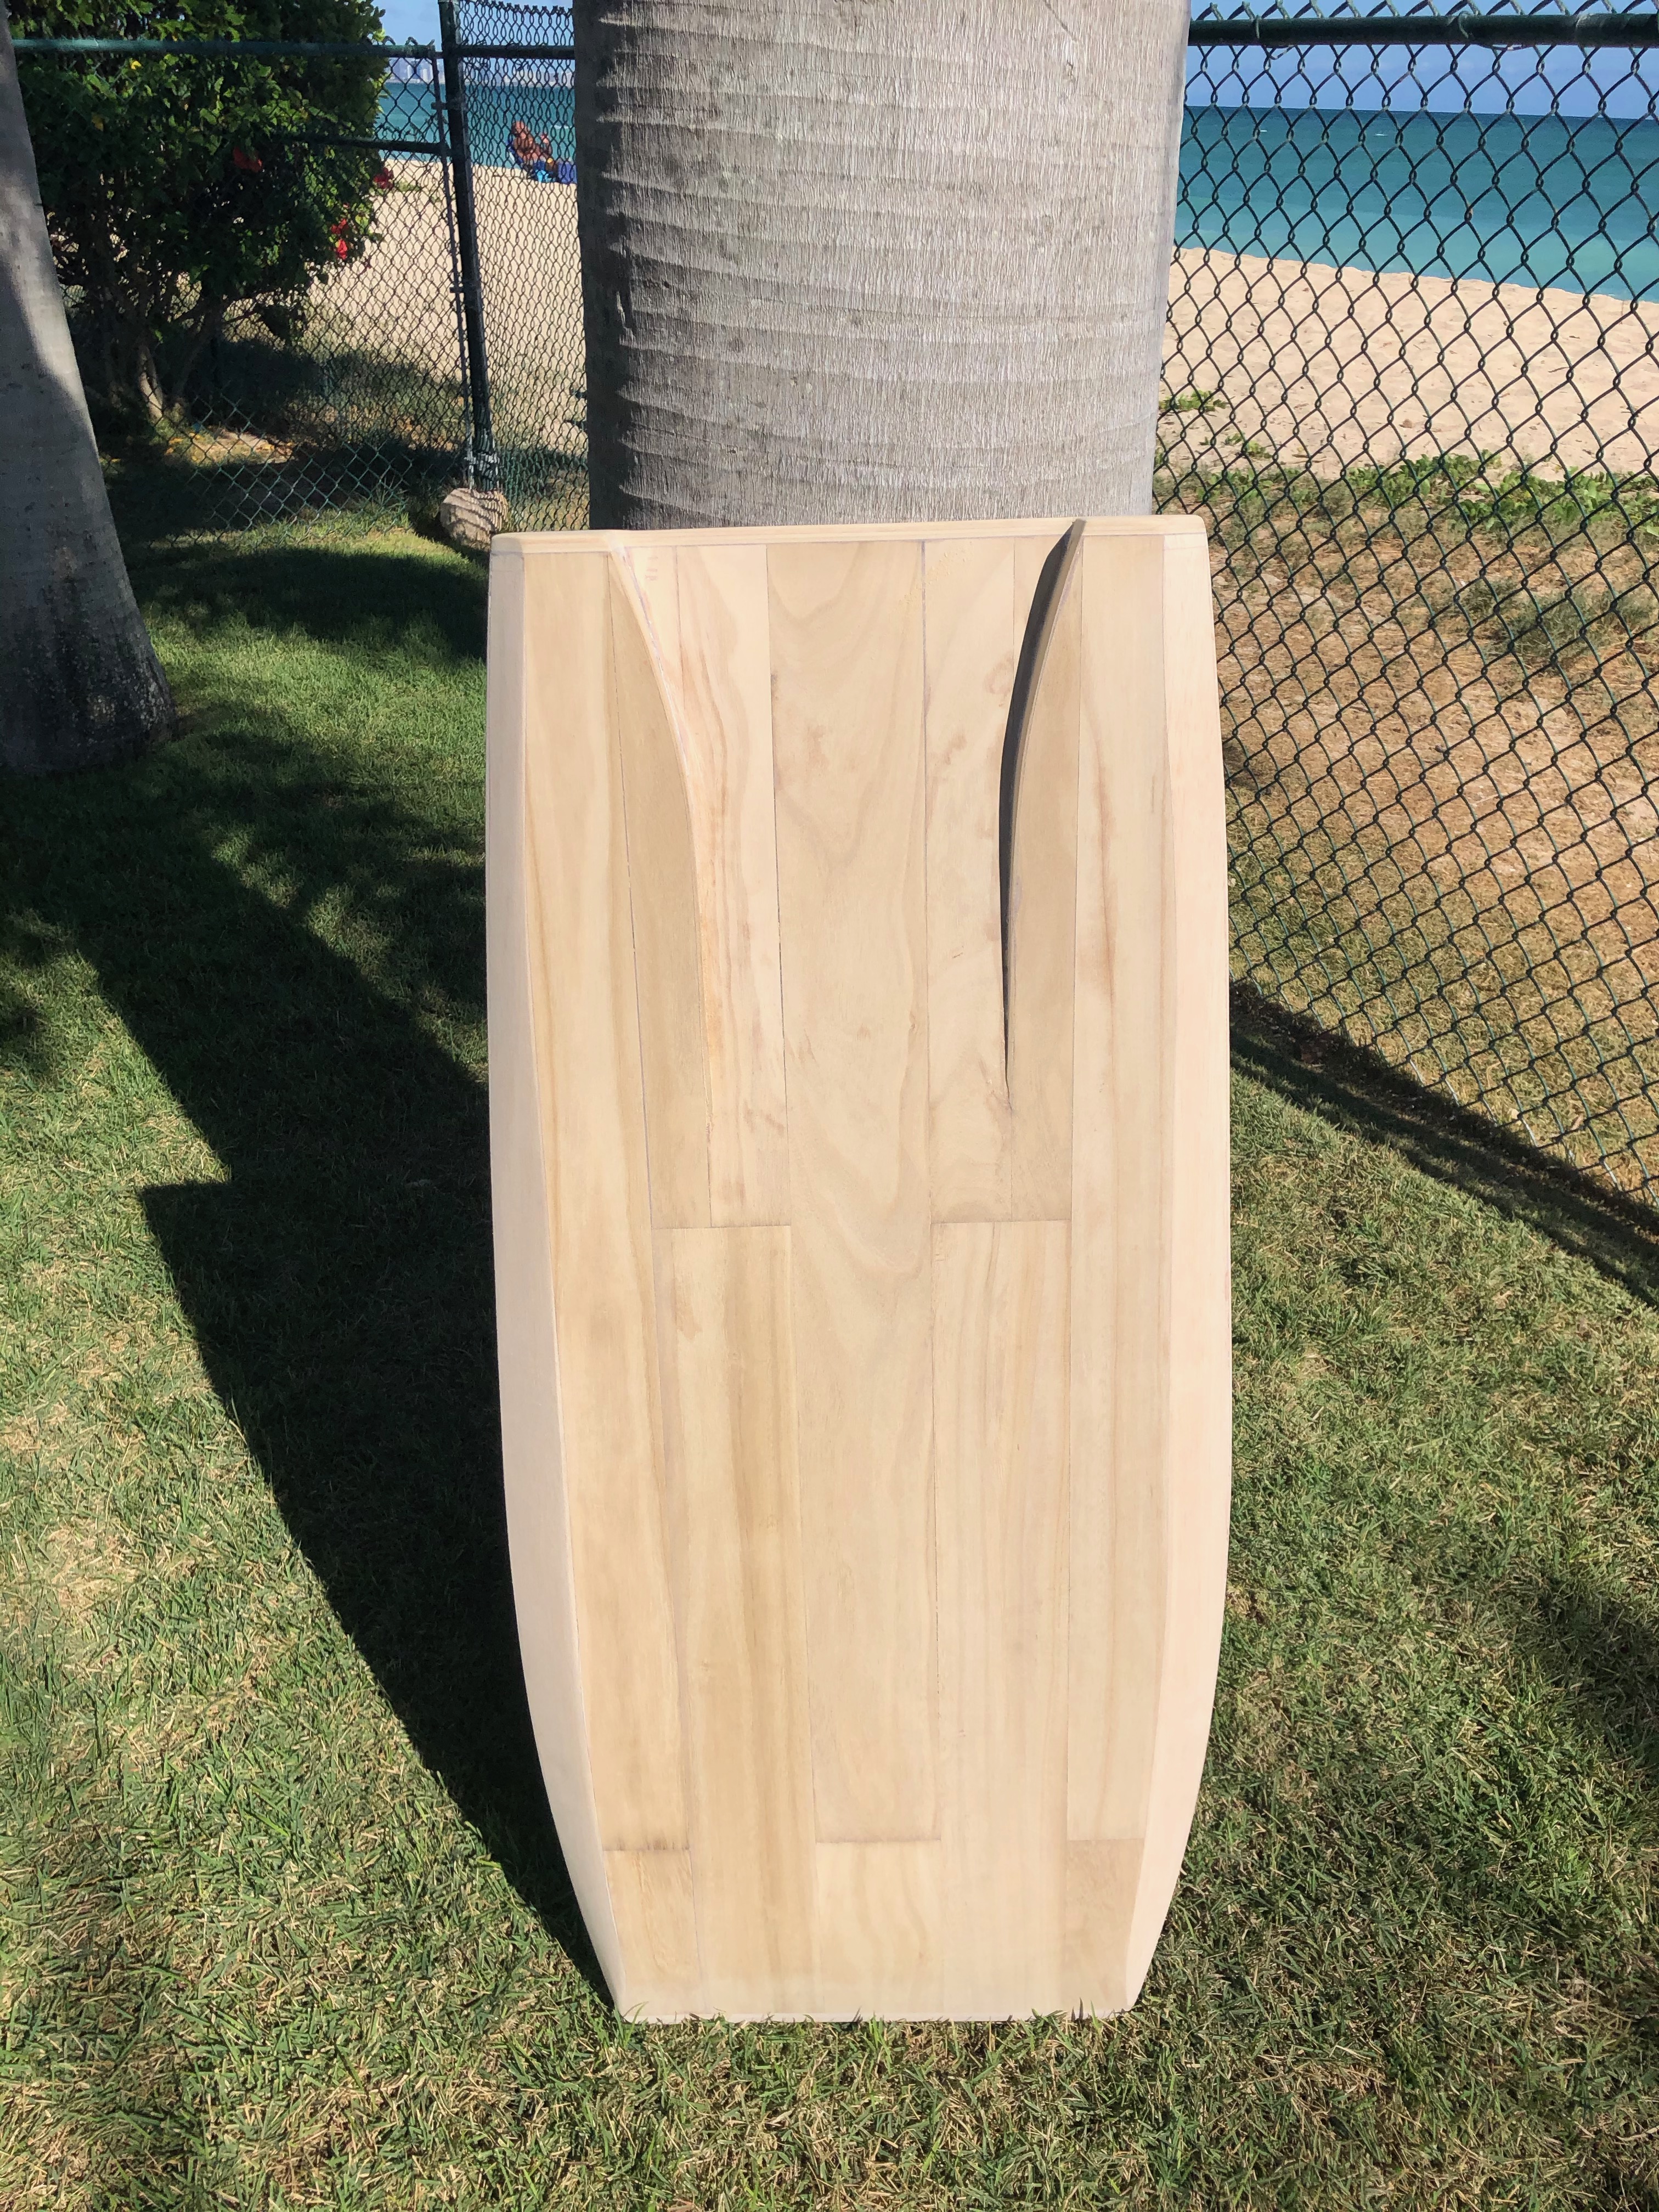
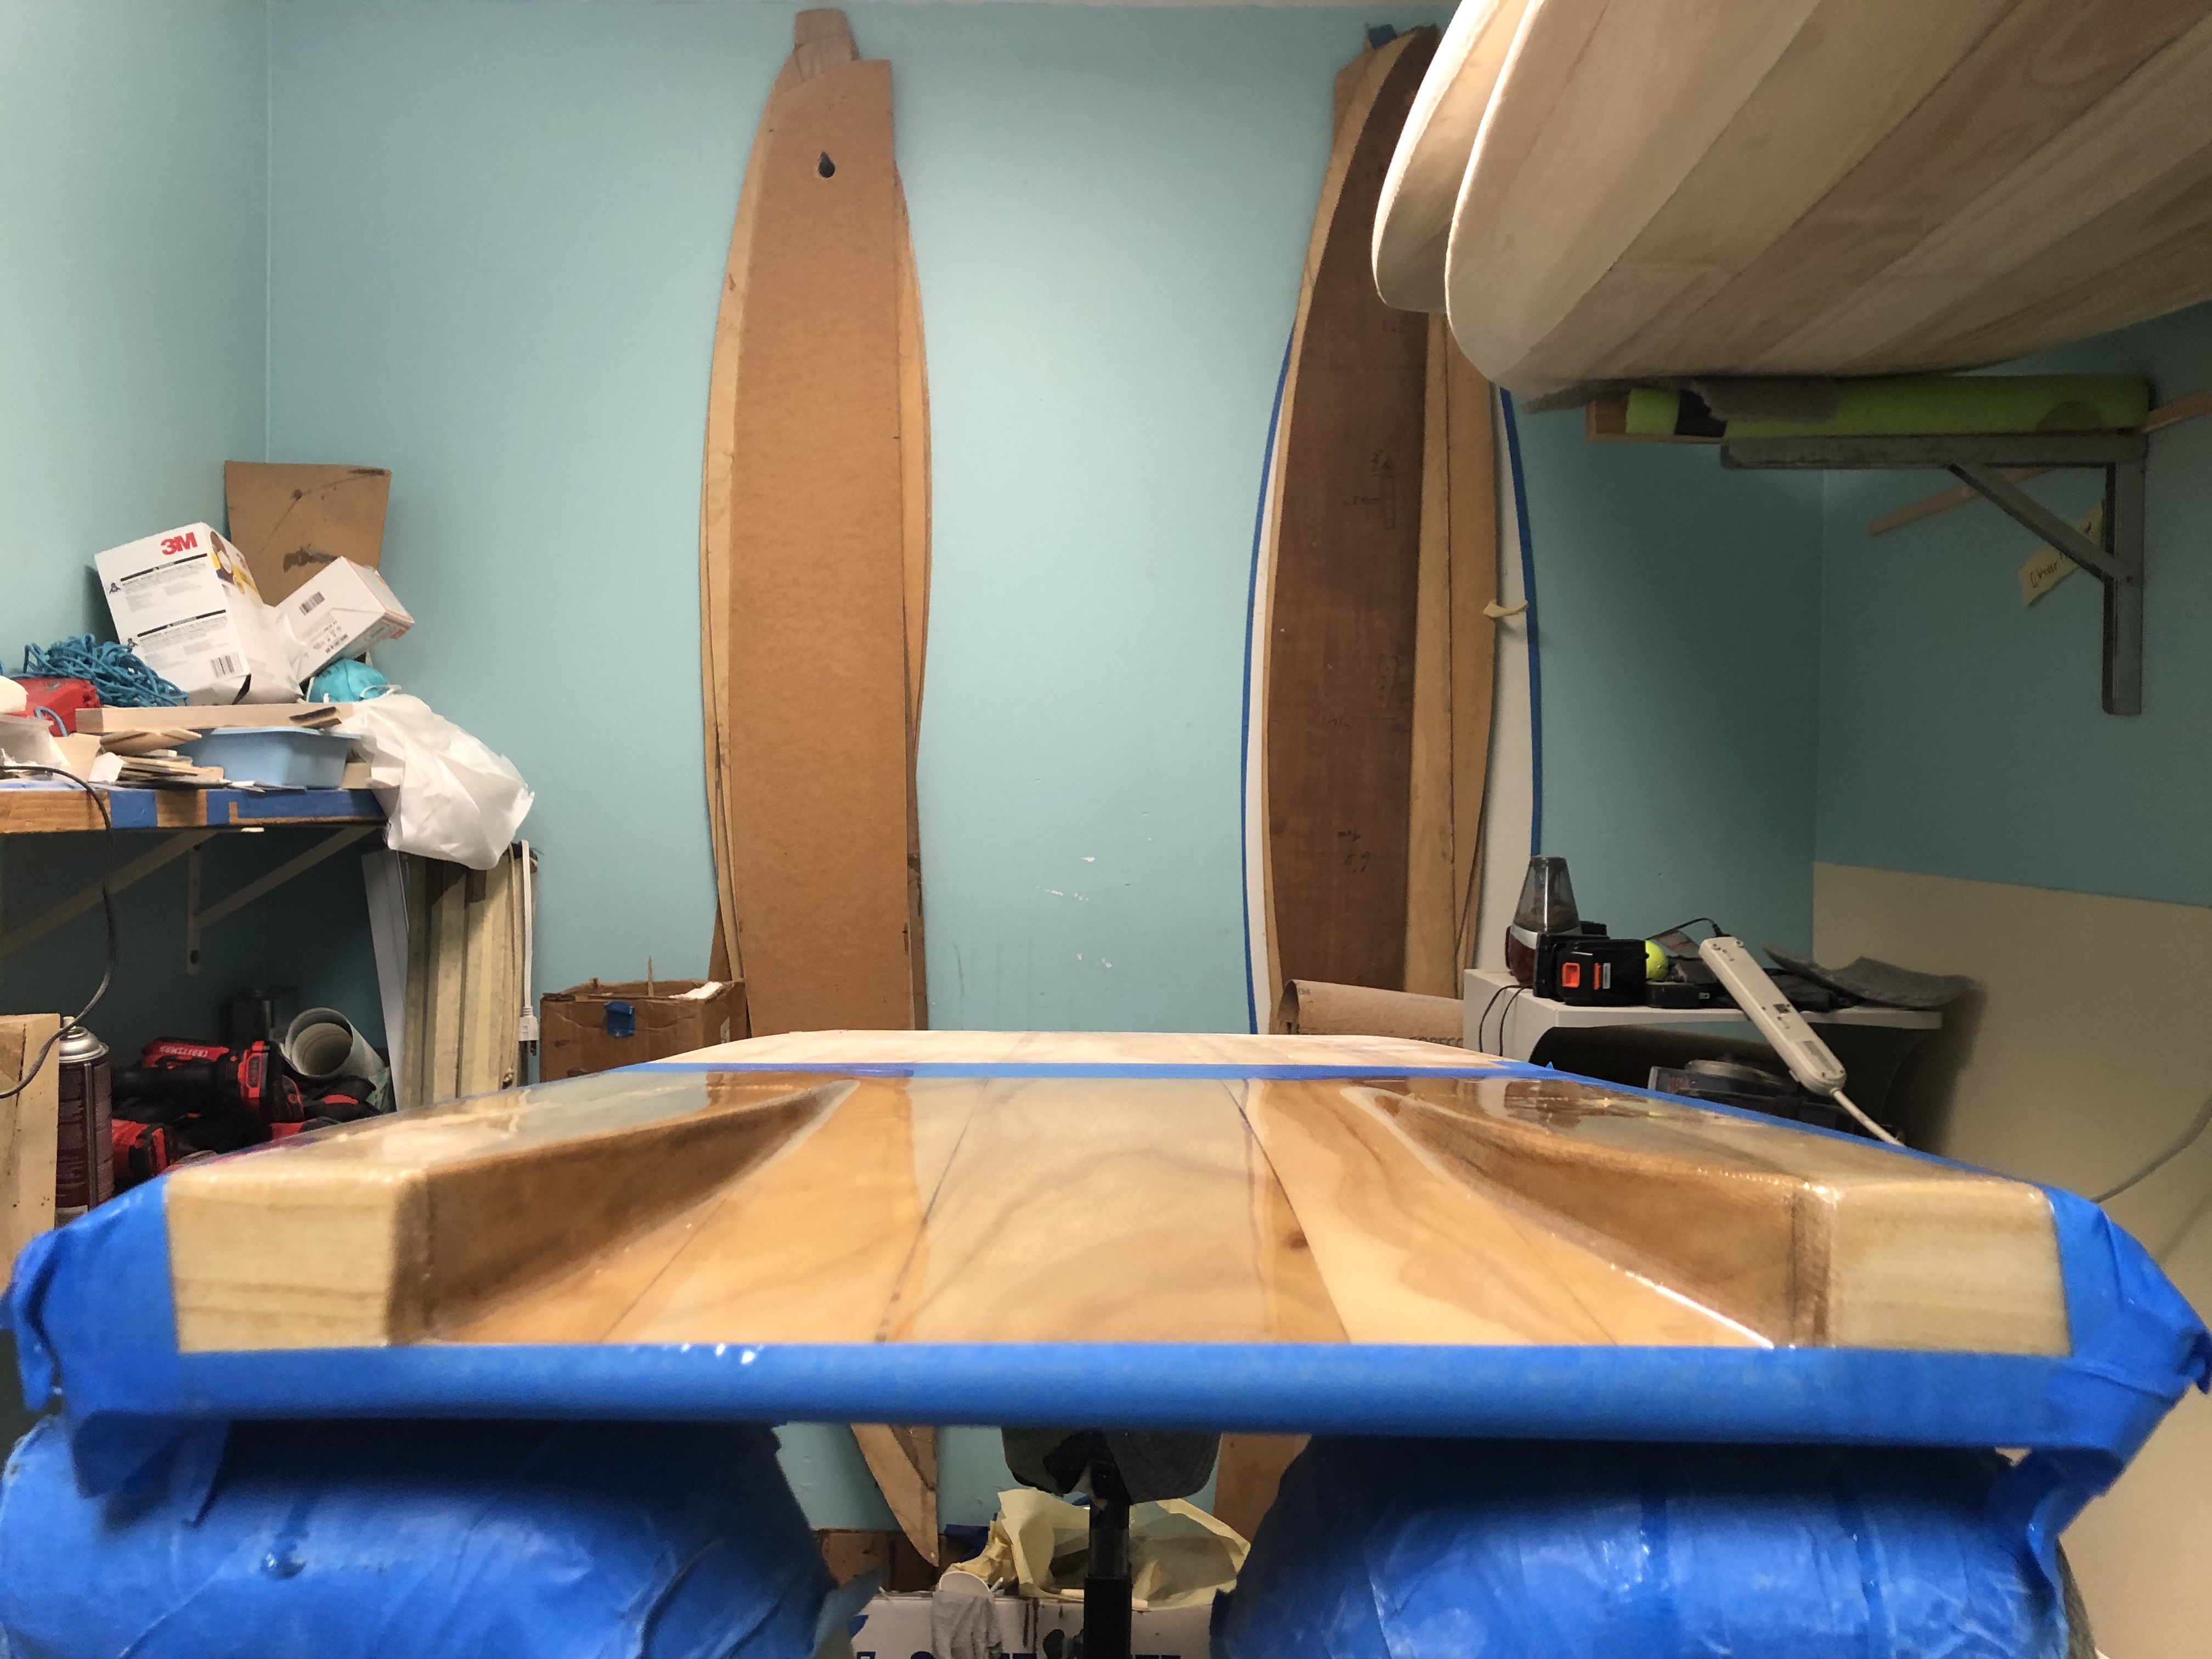
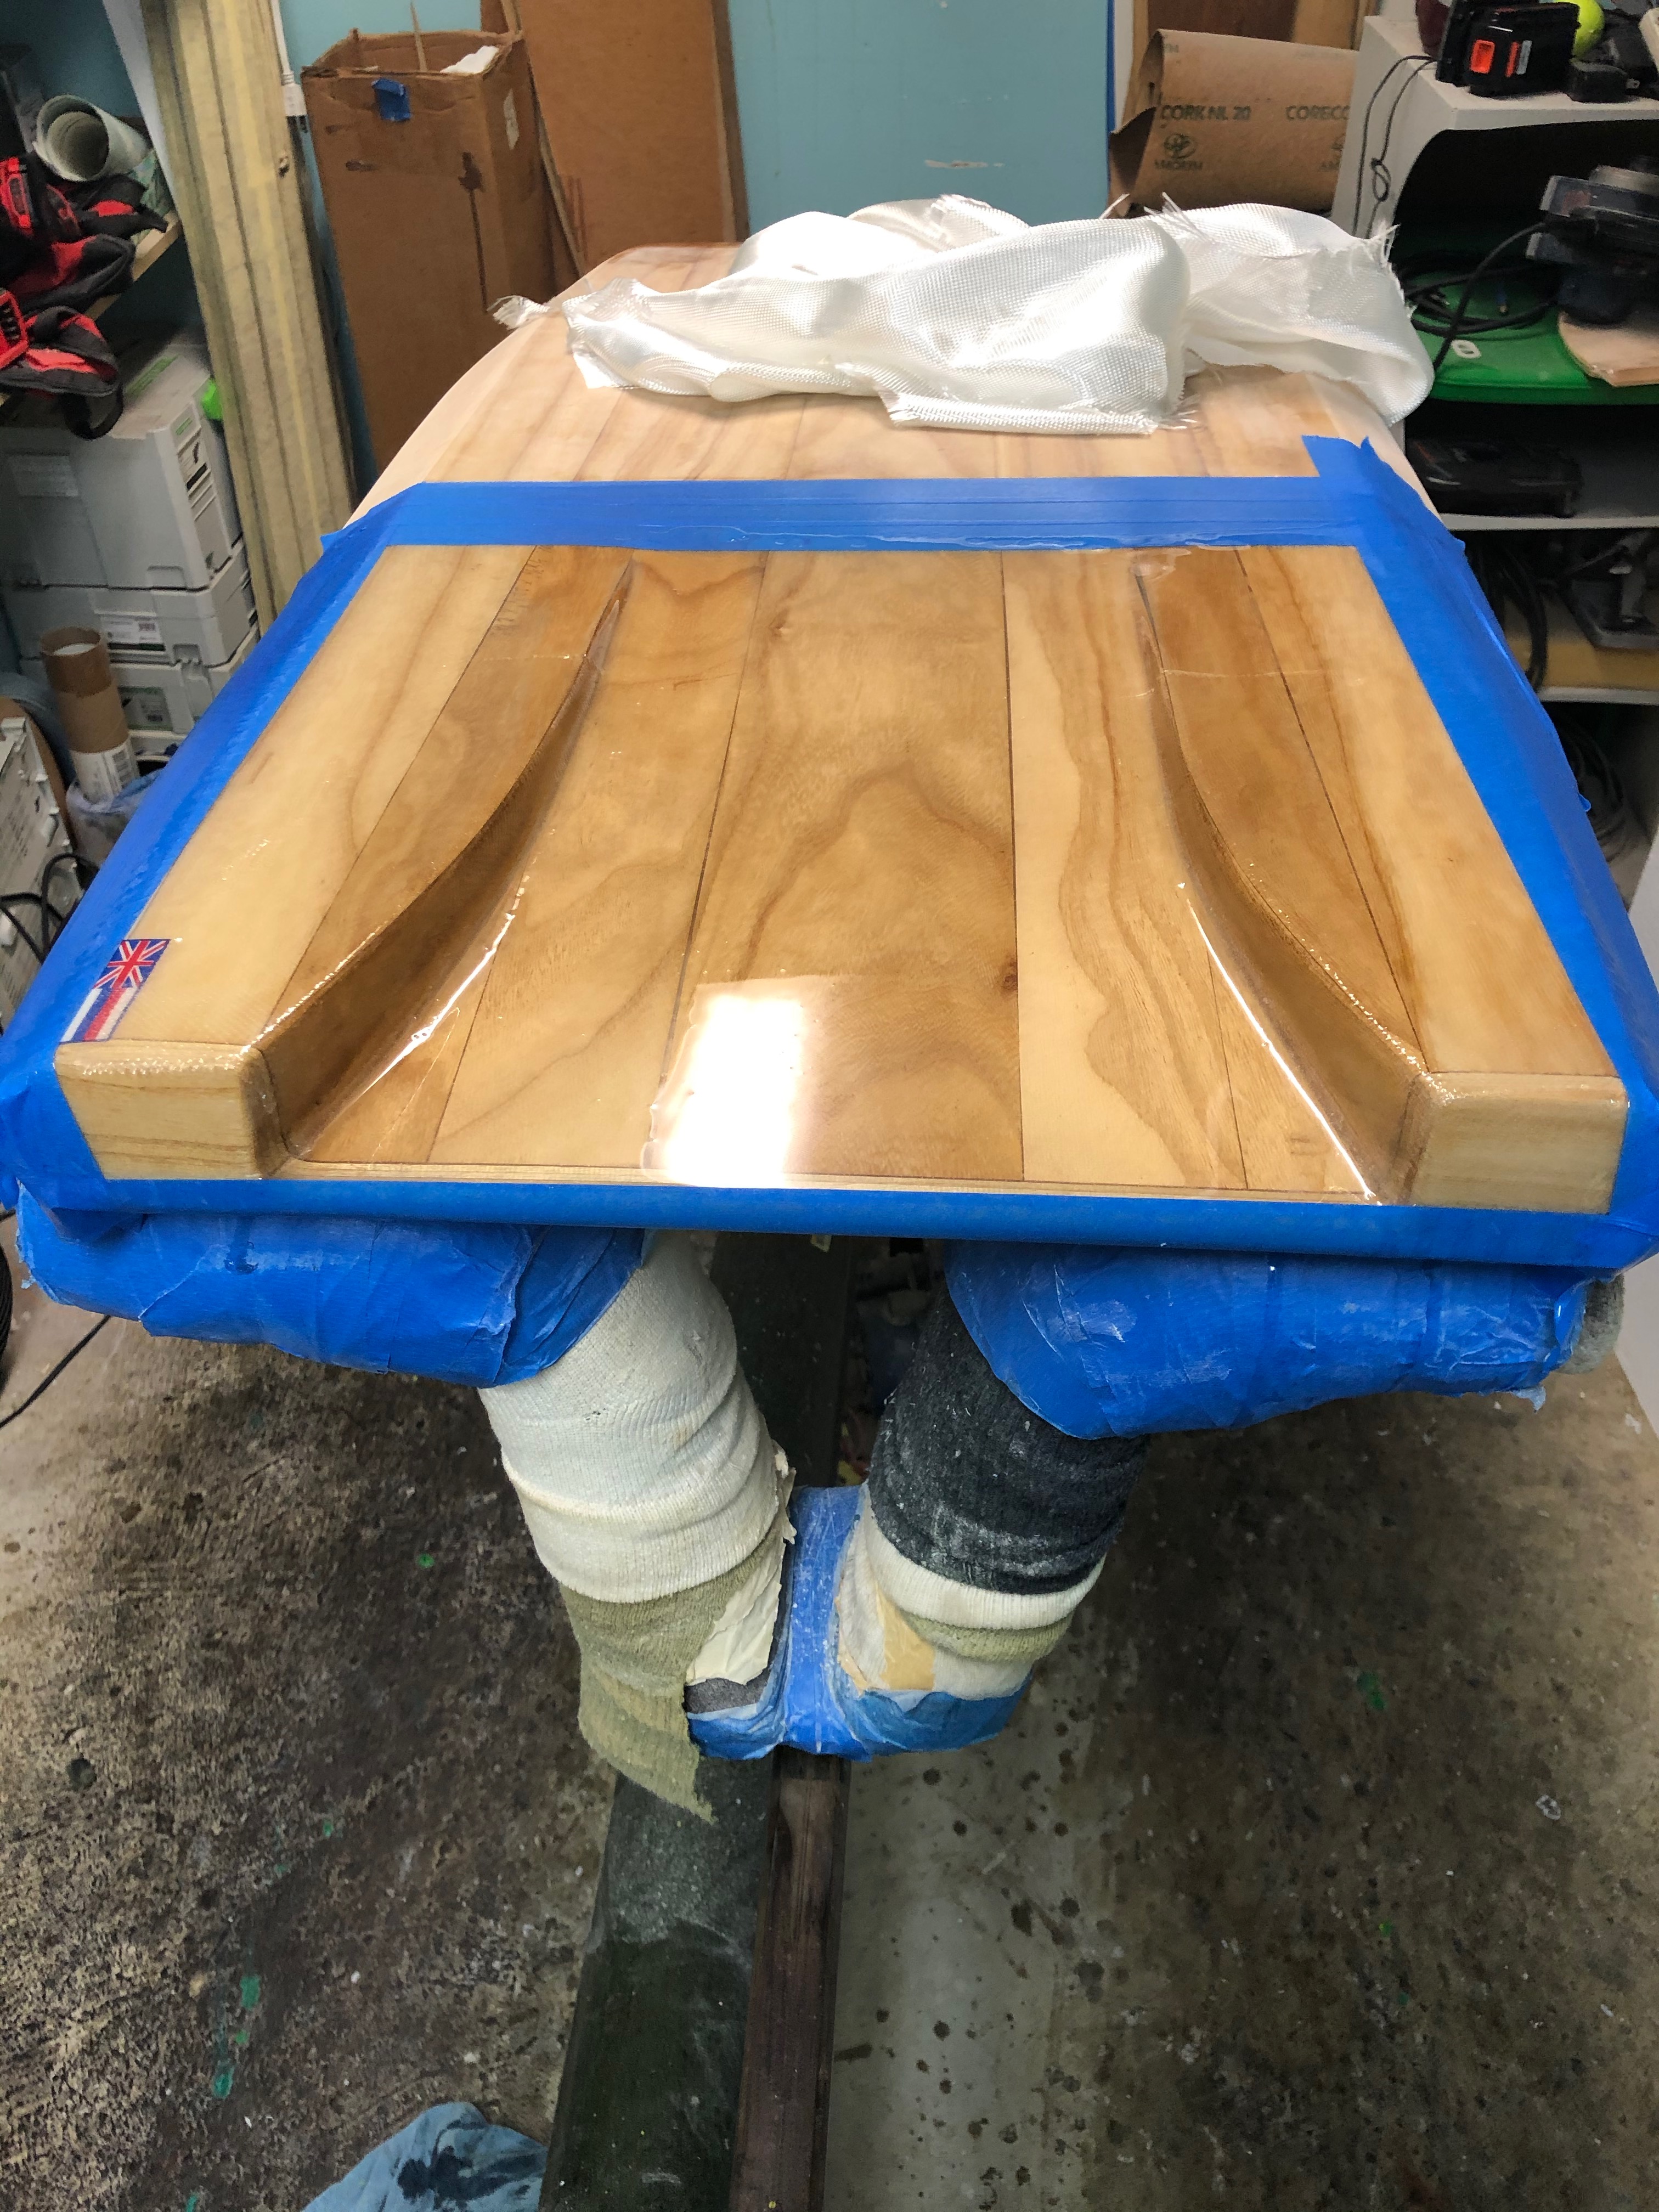
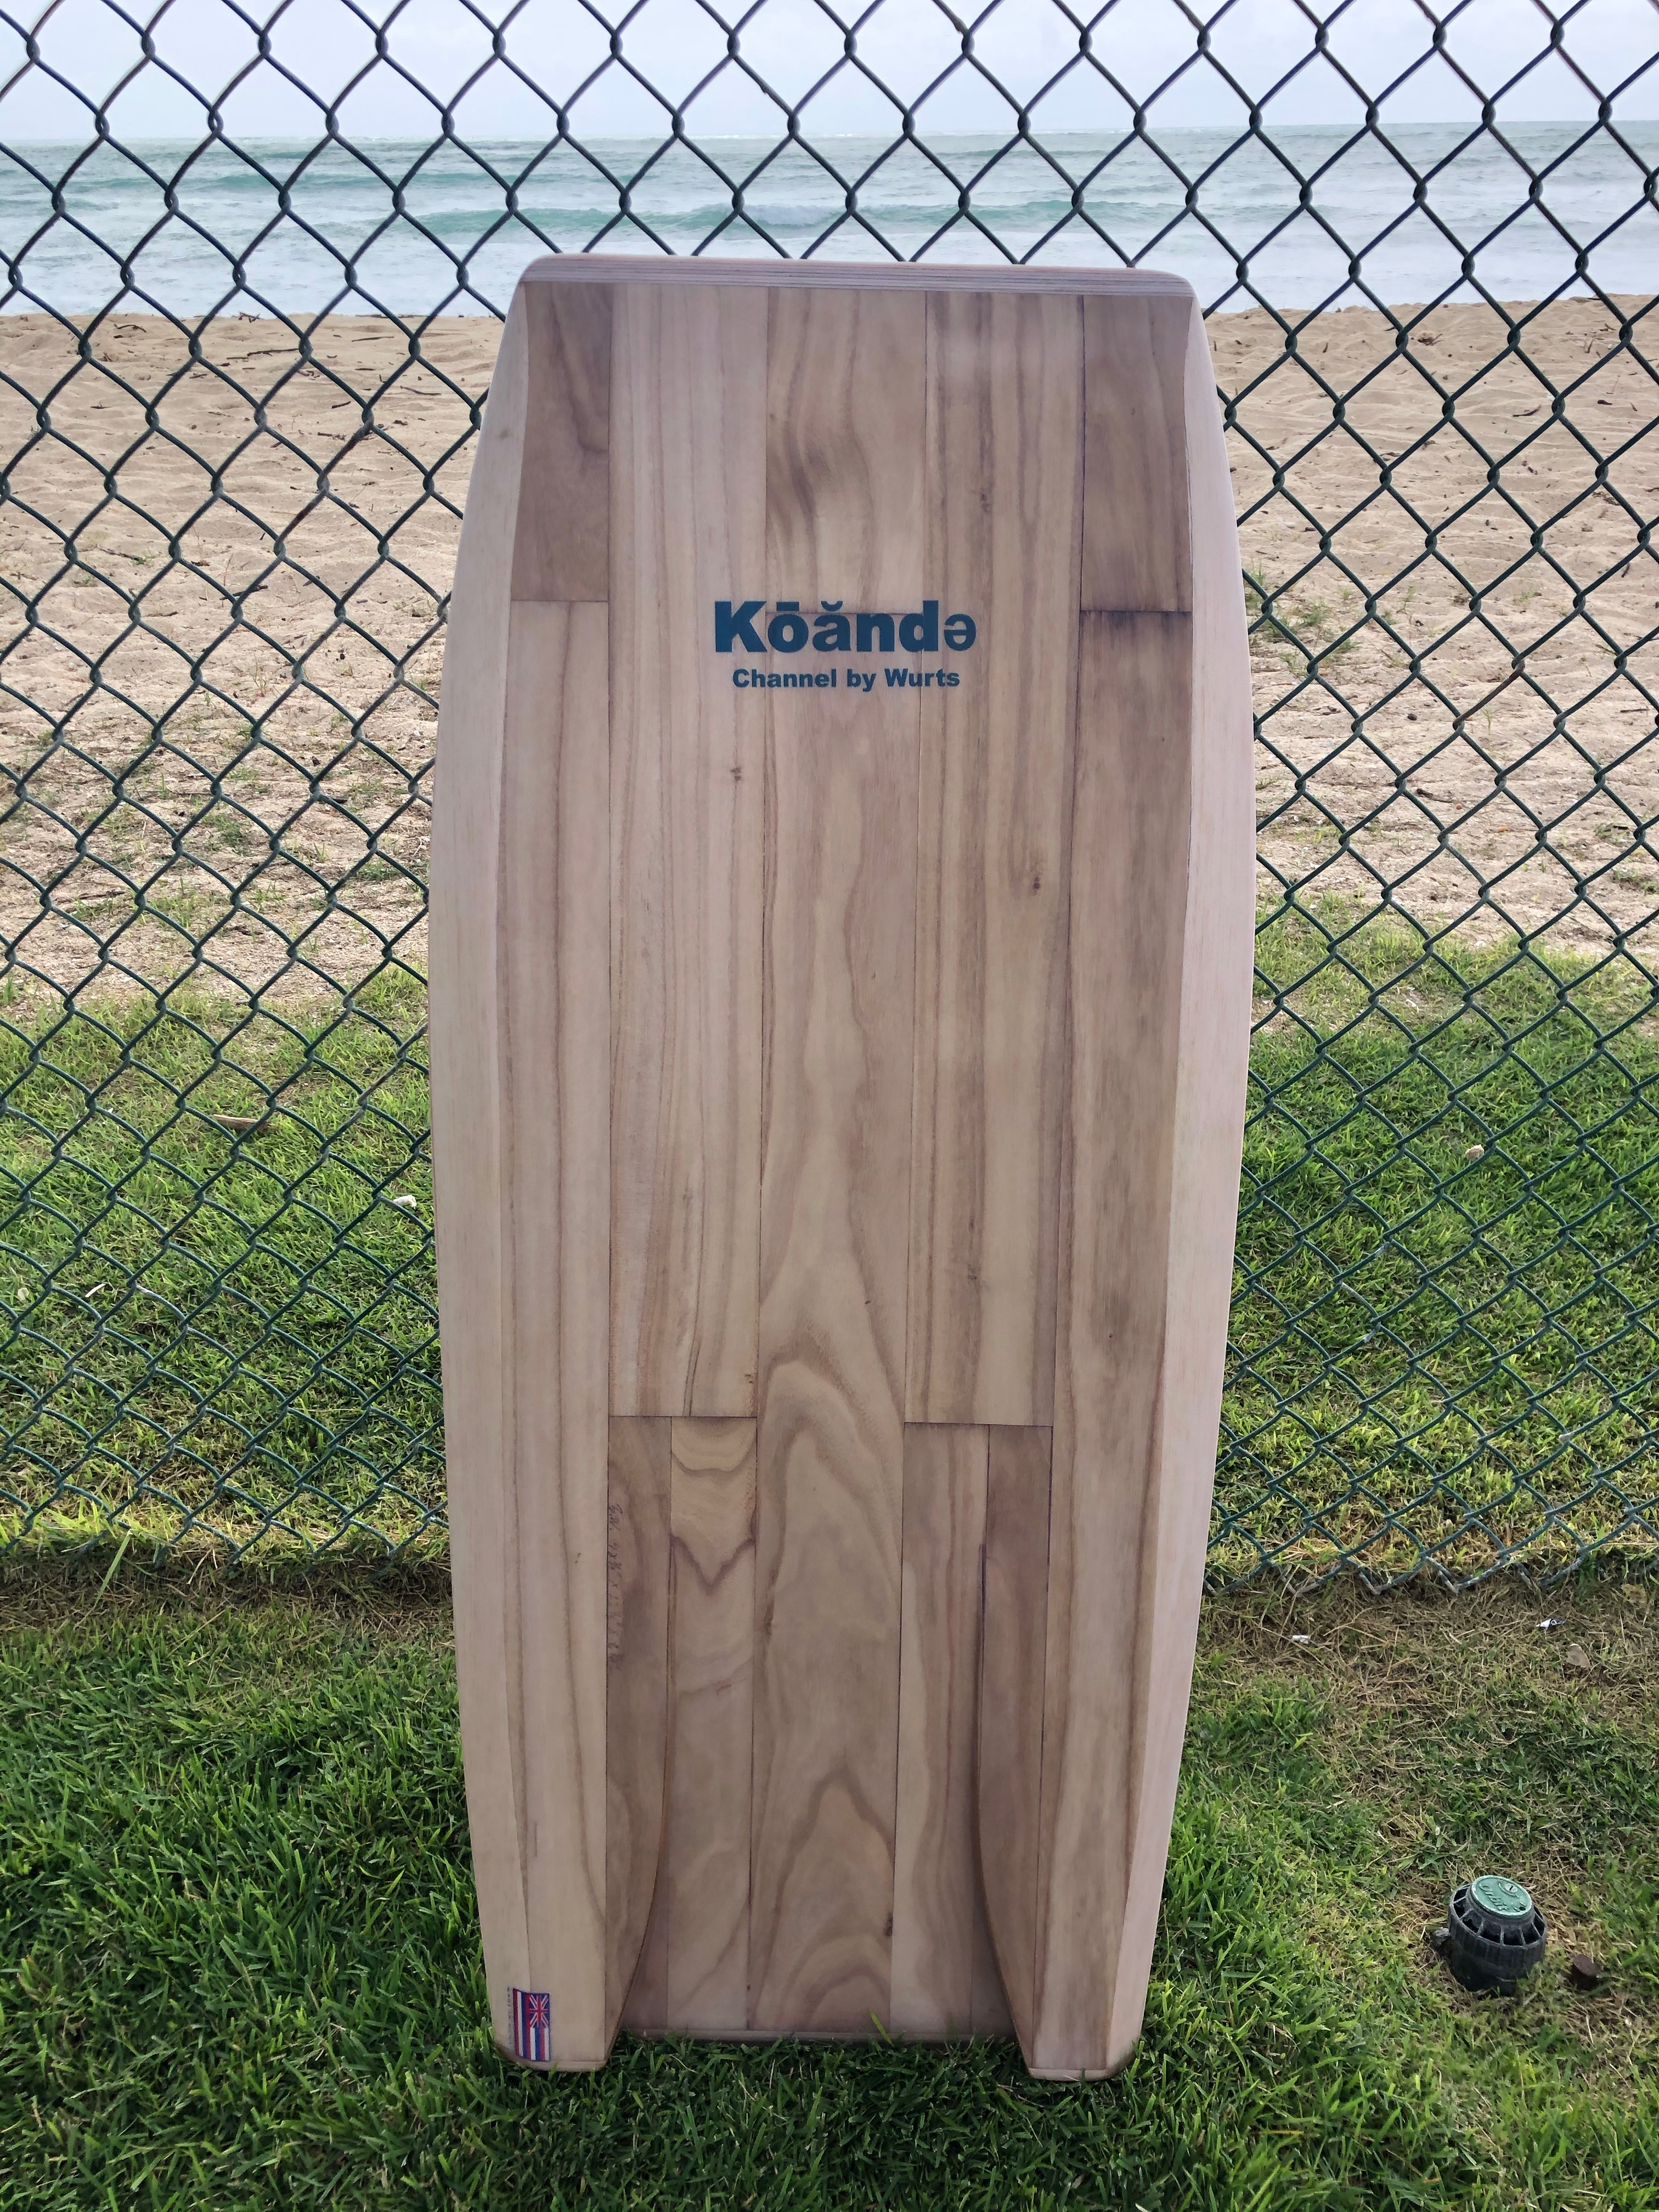
Charlie’s build is the first complete prototype of my channel project. Shaped, veneered and glassed with Charlie’s "wizardry.” A work of Art!
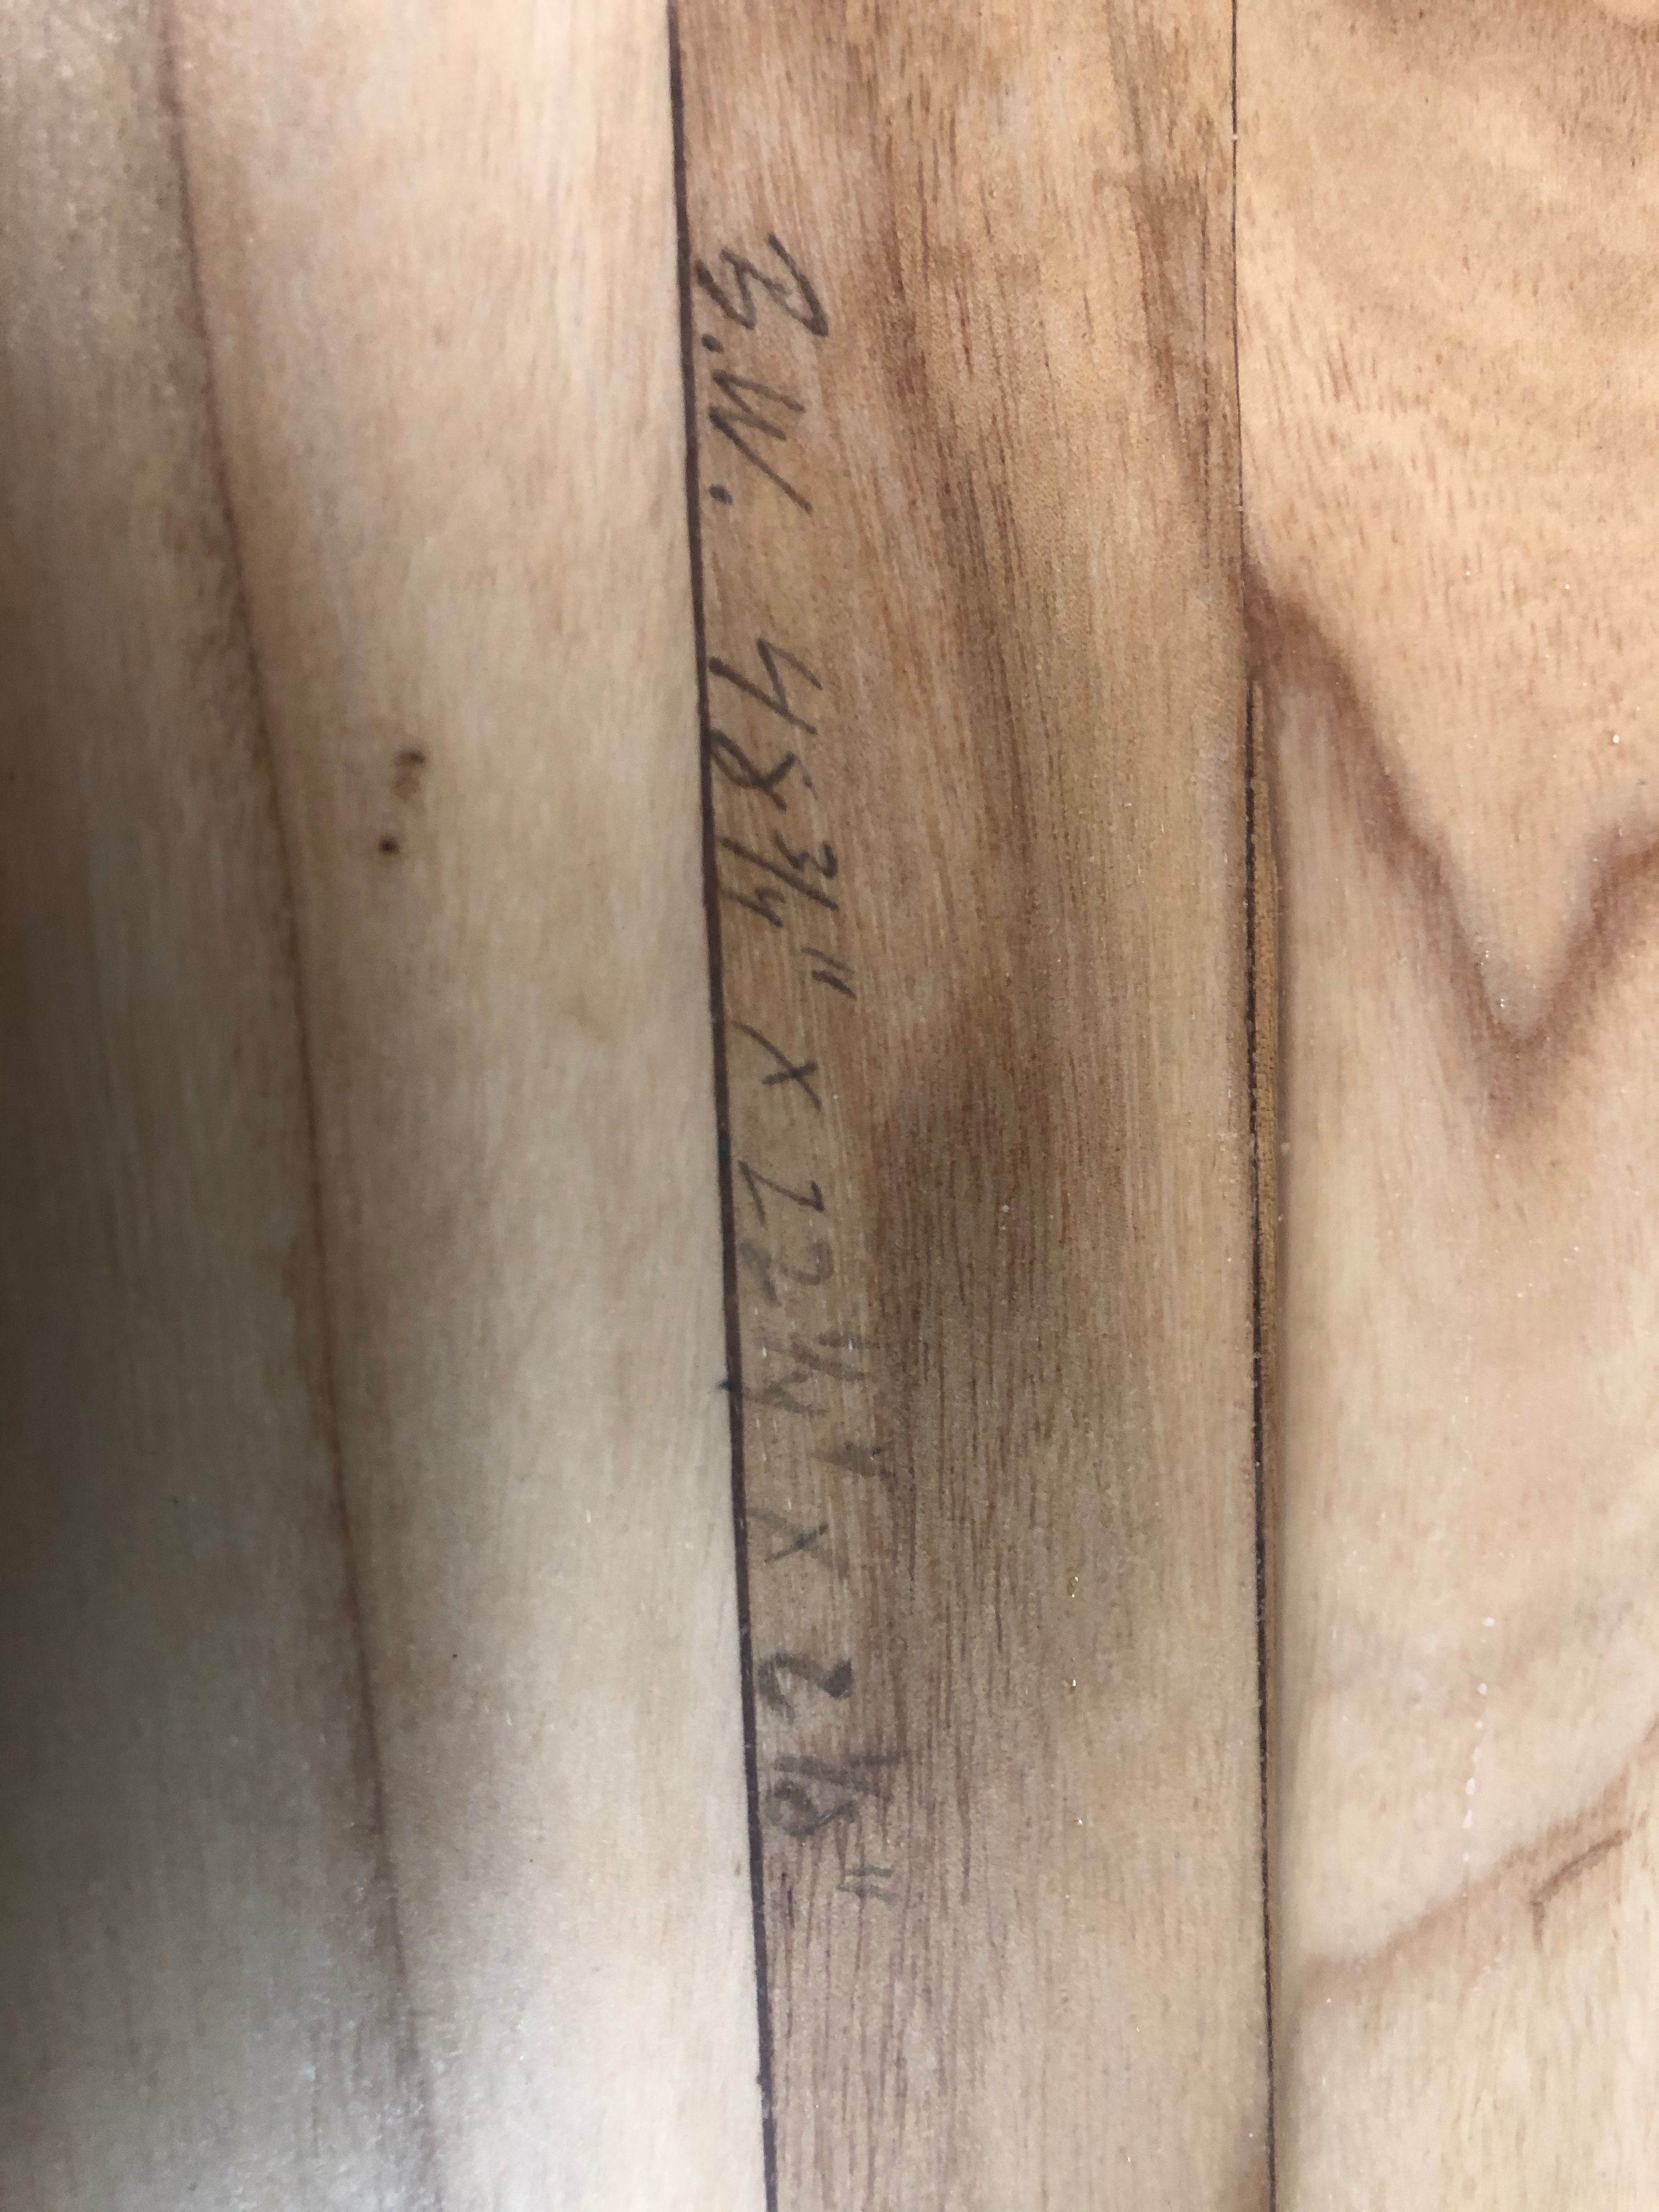
The CAD and CNC cutting “magic,” for the bottom channel as well as planshape and nose-rocker templates, are the work of Jim (jrandy).
The physics, math and design – bottom channel, planshape, nose rocker – are my work. I filed a patent application for the bottom-channel design in 2019. I did this to protect myself from the large commercial board manufacturers.
Below are my favorite CAD graphic that Jim created from my design data and me displaying Charlie’s sculpture shortly after I received it.


Hi Bill,
Just chuckling- we ‘alternative forms’ guys do look alike.
And good- while the numbers might not be big enough to pay fpr patent defence in court, still, it’ll slow them down some.
Wow, while I’d love to play with it, between the virus and age and infirmity I would be the world’s worst test pilot. Plus my access to CAD/CAM equipment is limited, my cousin has a lovely setup but he’s working with metal, small production runs of things like firearms parts. Really, really nice firearms parts, though.
In any event, yeah, John Galera- see https://mypaipoboards.org/interviews/JohnGalera/JG_2009-0922.shtml
Doc, I bought this Galera board from Bob Green in Queensland, Australia and rode it until a year ago.The bigger the wave the better it rode as the deep channel needed a lot of water to function.
I expect it will be the same with this cool looking missile from BB30 and Bill.
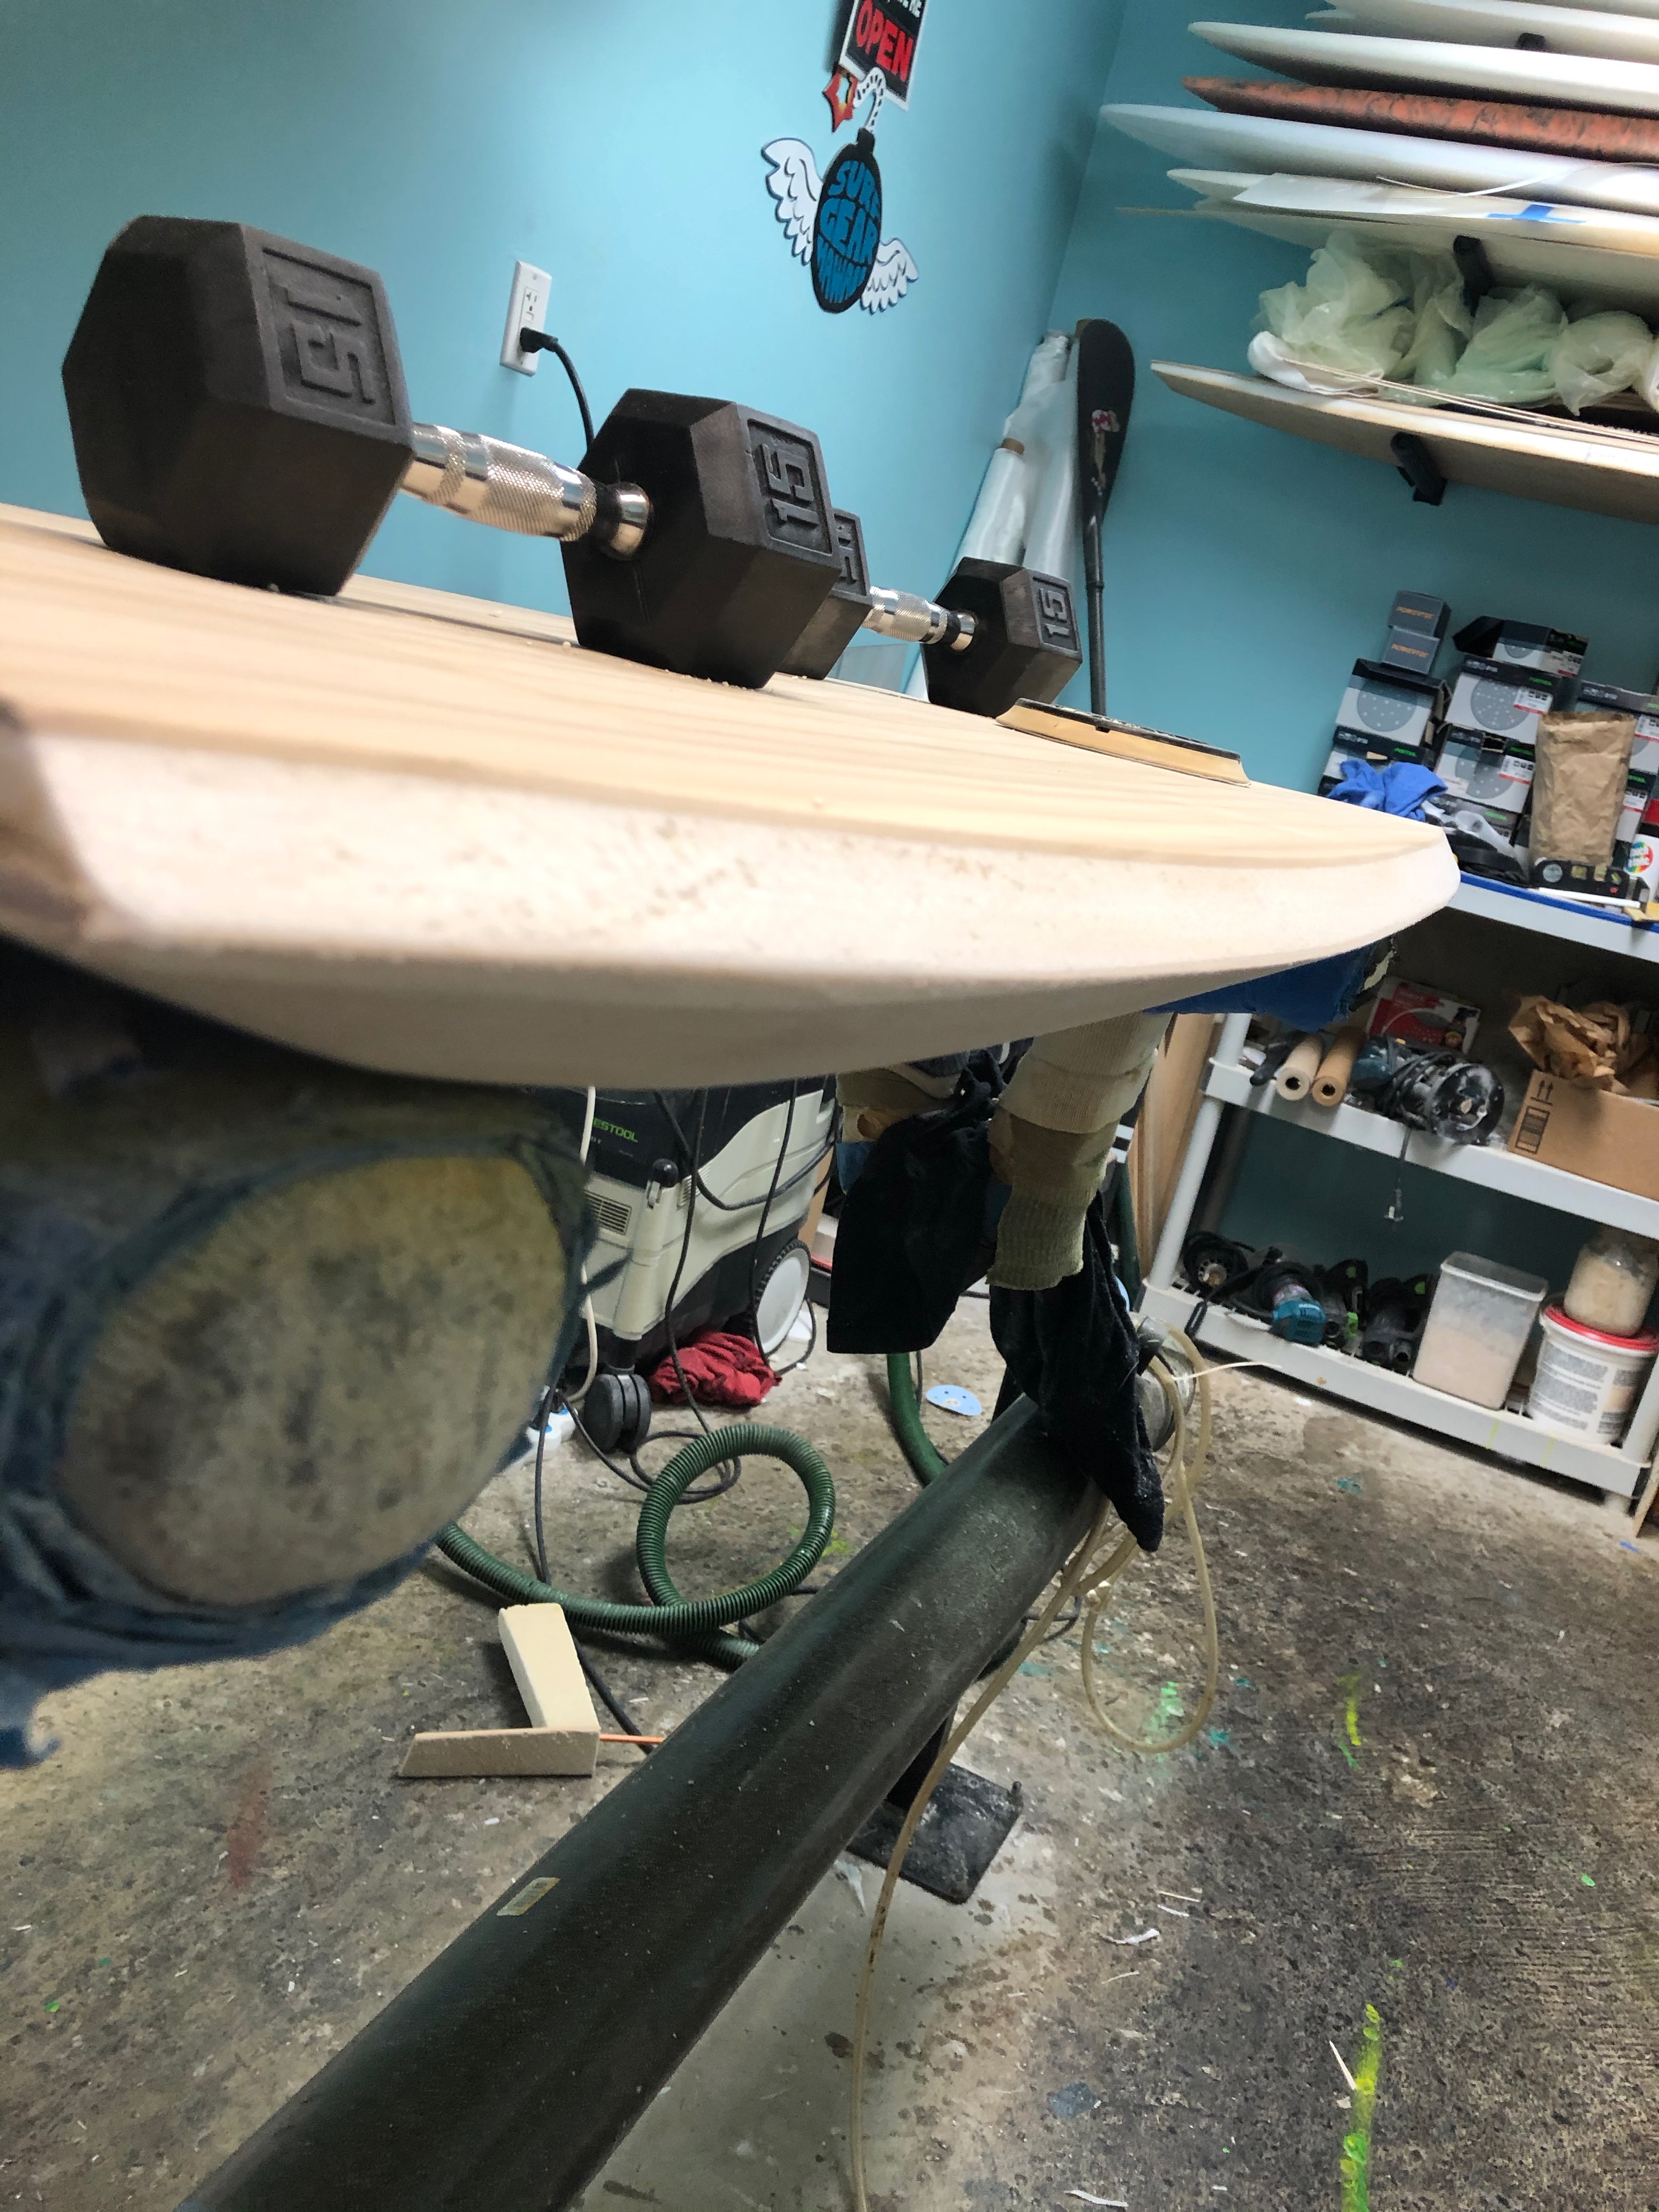
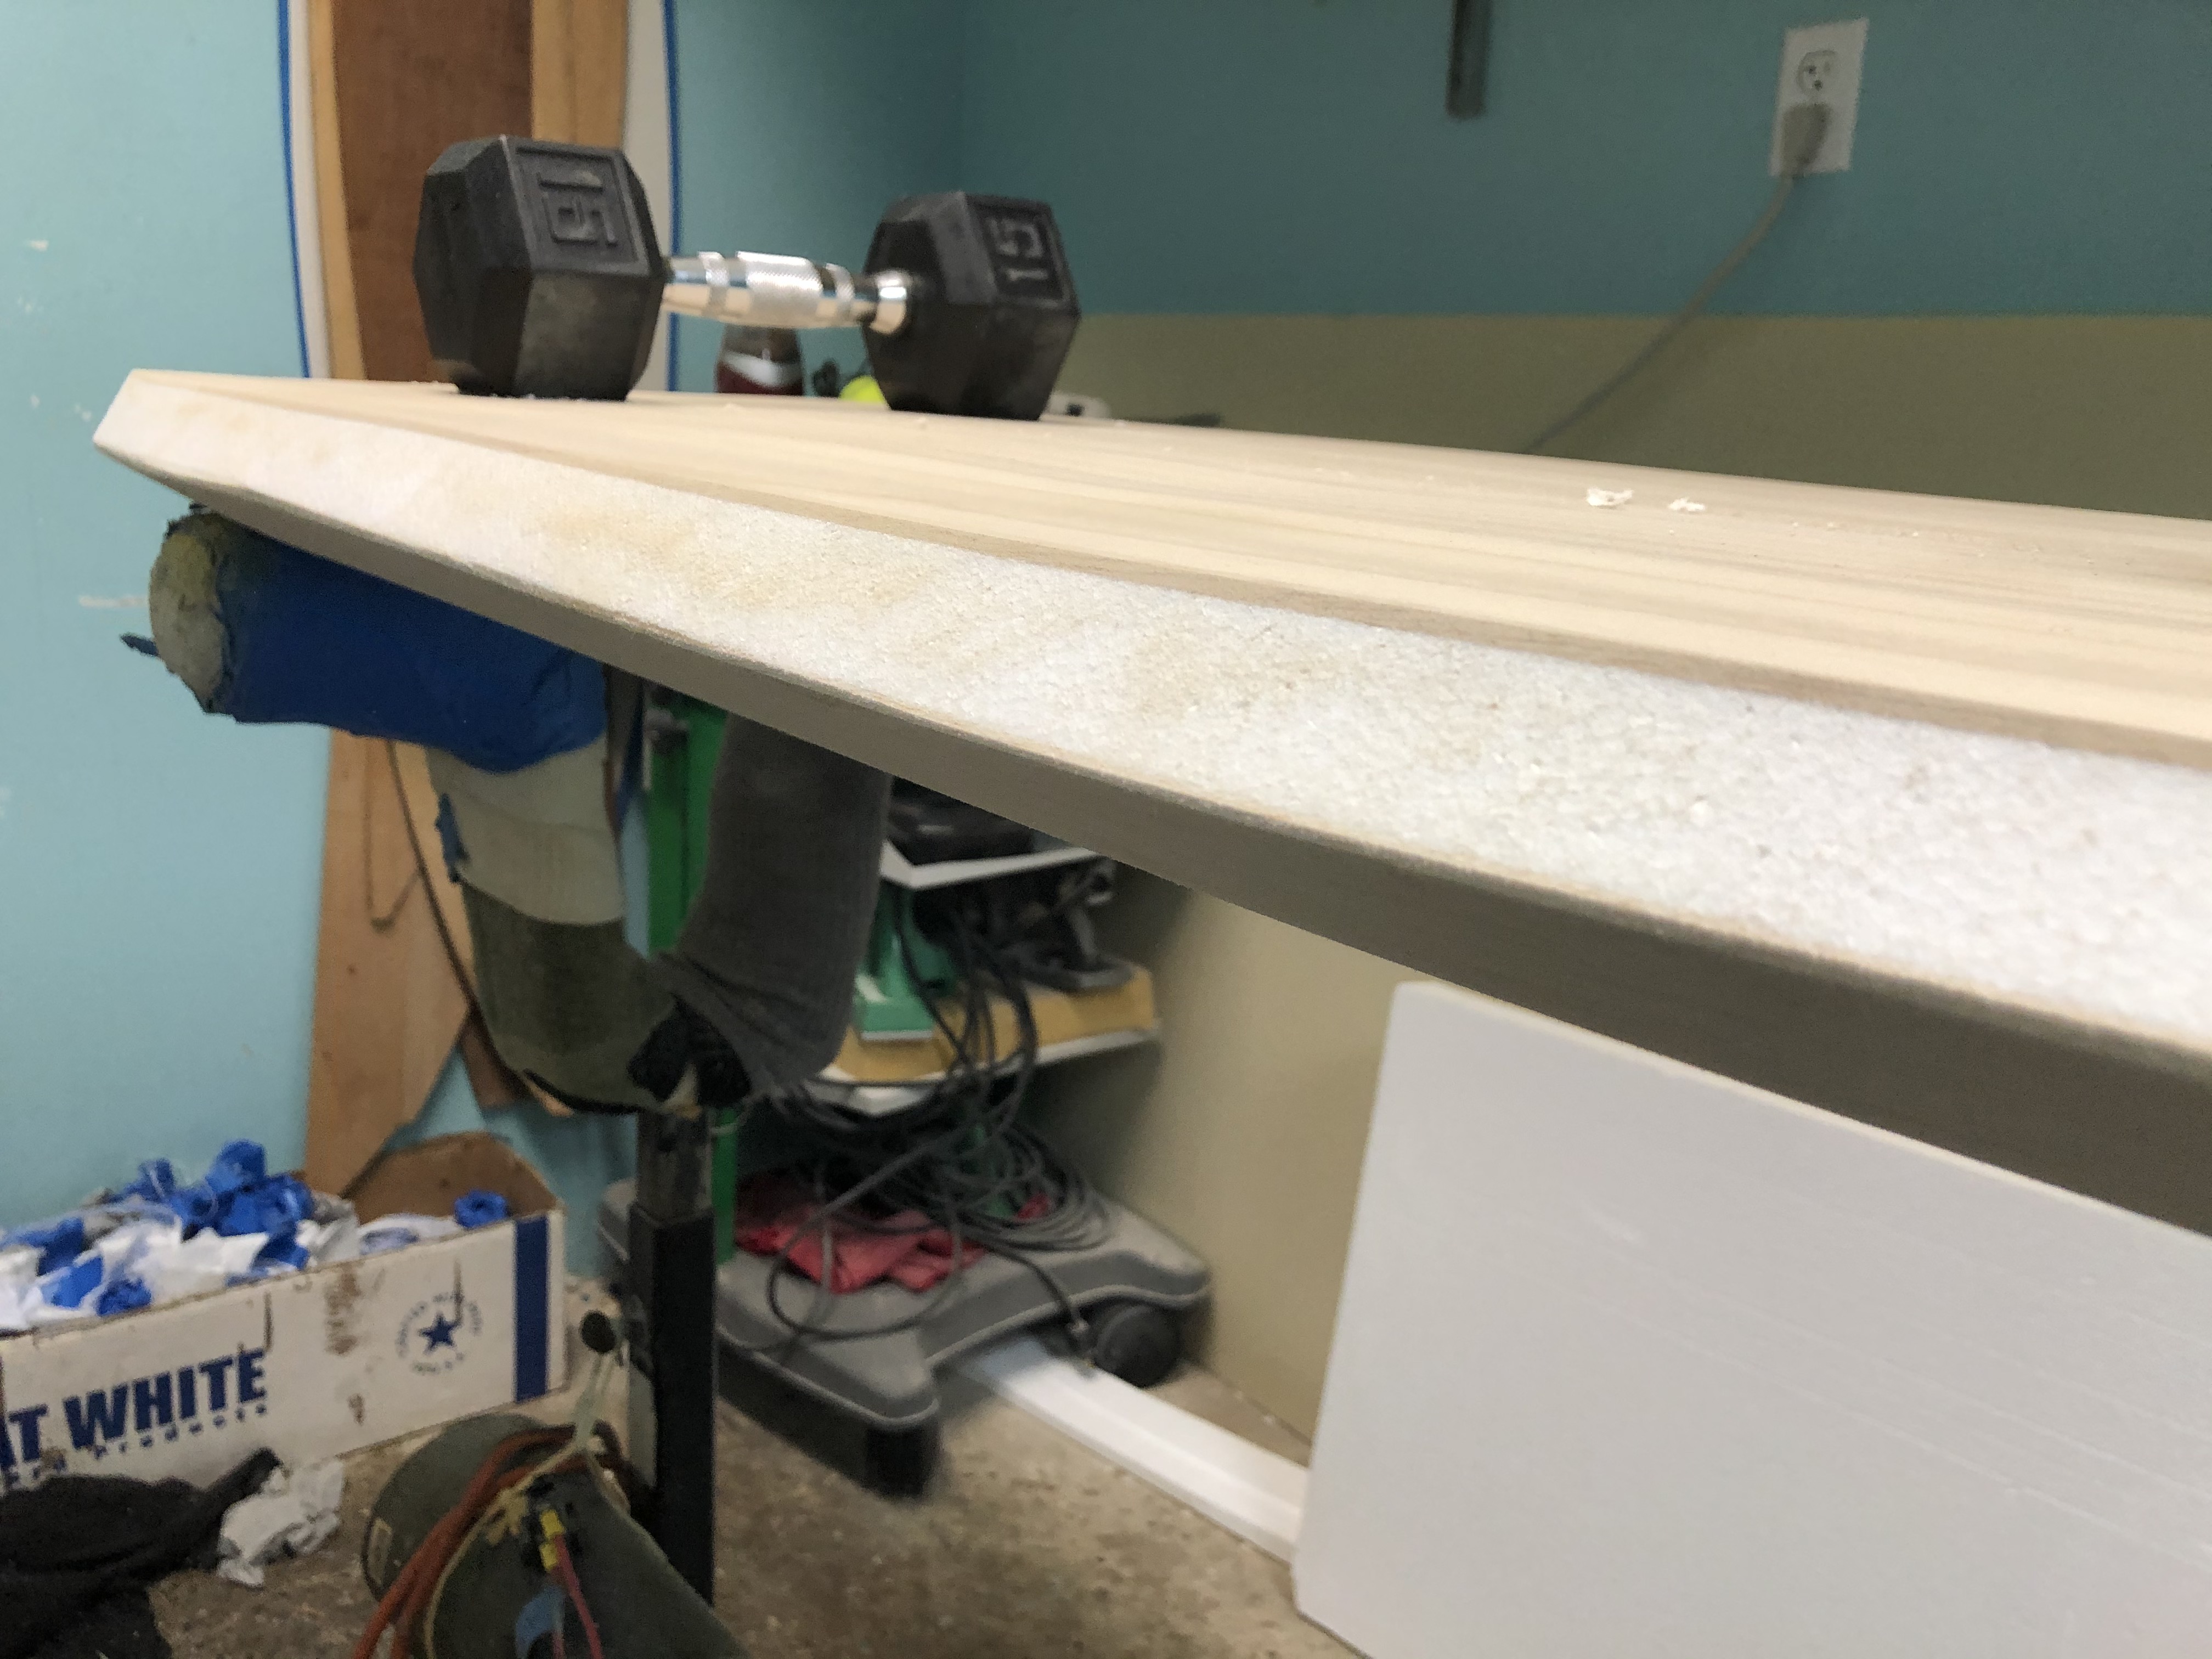
BB30, that’s some great laminate vacuuming !

Charlie’s skills and craftsmanship are undeniable. I really like Charlie’s interpretation of my suggested rail shape.
I encourage Jim (jrandy) to take a bow. His CAD and computer shaping of the channel and planshape templates were a significant part of the project. Jim was able to do what standard surfboard shaping software/shaping machines could not.
It took 3 people to give this prototype bodyboard its final physical form.
(chuckling) Bob is on here, he and I have been corresponding for years about paipos, life, the universe and everything. Great guy.
I have always been curious about the Galera model, the very curved bottom always had me wondering how it would hold an edge on a steep section. Could you ( or Bob) chime in on that?
Many thanks
doc…