Cracked Fin Box, but barely cracked. Least invasive fix?

I picked up a really clean Tyler Classic Noserider this weekend, and upon a closer inspection I noticed a hairline crack in a corner of the box. The crack runs down the entire corner to the floor of the box, but as the photos show it’s still well attached to the board. 

I’ve got the tools and jig to install a new box, in fact I even have a spare box, but I’m a little unsure how to approach a box that is still so solidly connected to the board. The posts I’ve read here seem mainly to discuss heavily destroyed and already loose boxes - on this board I’m starting with an almost completely perfect box and a gorgeous almost unridden looking board. 


Interested in recommendations. Also - I haven’t hit my 10 likes yet, so I won’t be able to respond for a bit, but rest assured I will be reading responses intently.


Hello; I think is better to leave it and check it after several sessions.

I do not think water filter to the foam due to the white resin + aerosil + possible a sheet of glass all around the box but you can filter a minimum of epoxy resin for peace of mind.

Routing that box could be difficult and may be you finish damaging a bit the tint due to still tight there.

Oh, I hate those little cracks. 

Now, as has been mentioned, the box looks like it was set in some white resin rather than just stuffed into the foam. That may or may not have been cracked too. and no way to tell.

So, what to do? What I would do is find some thin resin. They make some water-thin clear epoxies for penetrating wood and similar. Those would be ideal. Option B, thin some sanding resin with acetone or styrene ( assuming this is a polyester resin- polyurethane foam board, don’t use styrene around epoxy-styrofoam boards) and catalyse it a little light .

Bring the board inside overnight, where it’s warm. Put it on a nose down angle, with a small brush (like an artist’s brush or something that size) work resin in, try to work it into the crack. Take the board someplace cooler, so as it cools it tends to suck the resin in. Repeat if you see anything of the crack after the first application.

hope that’s of use

doc… 

I’ve tried to head off issues on boxes with the same/ very similar cracking on a board with a very thin tail.


The new glass covering the crack, simply split open again and it would weep salt.  The whole board vwould essentially flex most, right at that spot


Less worried about cosmetics, upon seeing the salt weeping through recent repair attempt, I dremelled a fairly deep  groove along the box into which I would lay fin rope, to bridge the break, sand it flat, tape just the very center of the box and pull 2 layers of a  unequal size diamond shaped cloth patches. and a thick fill coat, essentially adding a bit more V around the fin.


This lasted a while before the finrope broke right atop the crack.


I then sanded off previous repair and dremelled a deeper longer groove and layed 3 layers of unequal length finrope, and pulled the 2 unequal size diampond patches tightly at the same time.


That third attempt with lots more fin rope bridgng the crack,  lasted years of hard use and the board is still viable.


Your two stringers look to be  western red cedar.  Its not insanely strong stringer material, and could perhaps have a weakness in that exact spot where the fin box begins.


If it leaks and turns brown which I think is likely, how soon will it look worse than some more serious restrengthening would  now?


The indentation at the very front of the box might indicate a rear tabbed fin, was hit  from behind, snapping the tab off, rotating thewhole it forwards and thus causing the crack.  If the crack is not from the board flexing at that excct spot during use, but from the fin rotating into the front edge of the box, then there is better hope for sealing it,  short of  tons of fiberglass bridging the break as I had to do. 


Bummer 

I would route out the box and replace it with a new one 

lots of ways to do that 

personaly I use a plunge router and I have my jig tapped on the board so it doesn’t move 

if you route out the box just right you should not notice much of a difference 

Thank you all for the input - I was thinking along each of these lines myself, so it was good to hear feedback. I had wondered about taking a 1/16" drill or smaller, drilling out the crack, filling it with epoxy, and then moving on. I actually have the tools to install a box, but was nervous about routing out an entire box - I was having visions of the router jumping off the old box as I slowly cut it out and mangling the rest of the board. 

I would be very interested in whether there is a “proper” way to remove a box - I’ve heard of dremeling out segments that can then be chiseled, I’ve see someone use a cutting wheel on a disc to cut around it, but I’ve never really seen the same method twice. For this board, I chickened out and took it to a grownup :smiley: However, if it were a less pretty board I’d be very willing to do it myself, so I’m still very interested to hear methods to remove a box safely. For those who would use the plunge router and jig, any concerns about it jumping around as it moved from plastic to foam around the edges? 

Aloha Erik, before you ever consider removing the existing box, I’d give the crack several treatments of thin, highly liquid cyanoacrylate glue.    AKA, super glue.     It wicks really well into hairline cracks, and is compatible with the fiber filled Lexan plastic in the FU boxes.    If you have any ‘‘in depth questions’’ about it,  use a PM to me.

Top industries makes a seam sealer caulk.  It’s clear, and used for metal window joints.  It’s slow during, and very thin.  Put a bead on it and let gravity pull it into the crack.  It isn’t structural, but it will keep the water out.

Hi all, these are very helpful! Bill, I’ve used super glue on rail snackles, but I never would have guessed it would work with the plastic in a fin box, that’s amazing!

Just fixed one exacly like this yesterday on a foil board for a friend. Wish I took pictures. 

First, the crack is at a part of the box that a perfect or crappy repair will not affect the funtionality of the fin. goal is water tight repair

Hopefull this will make sense

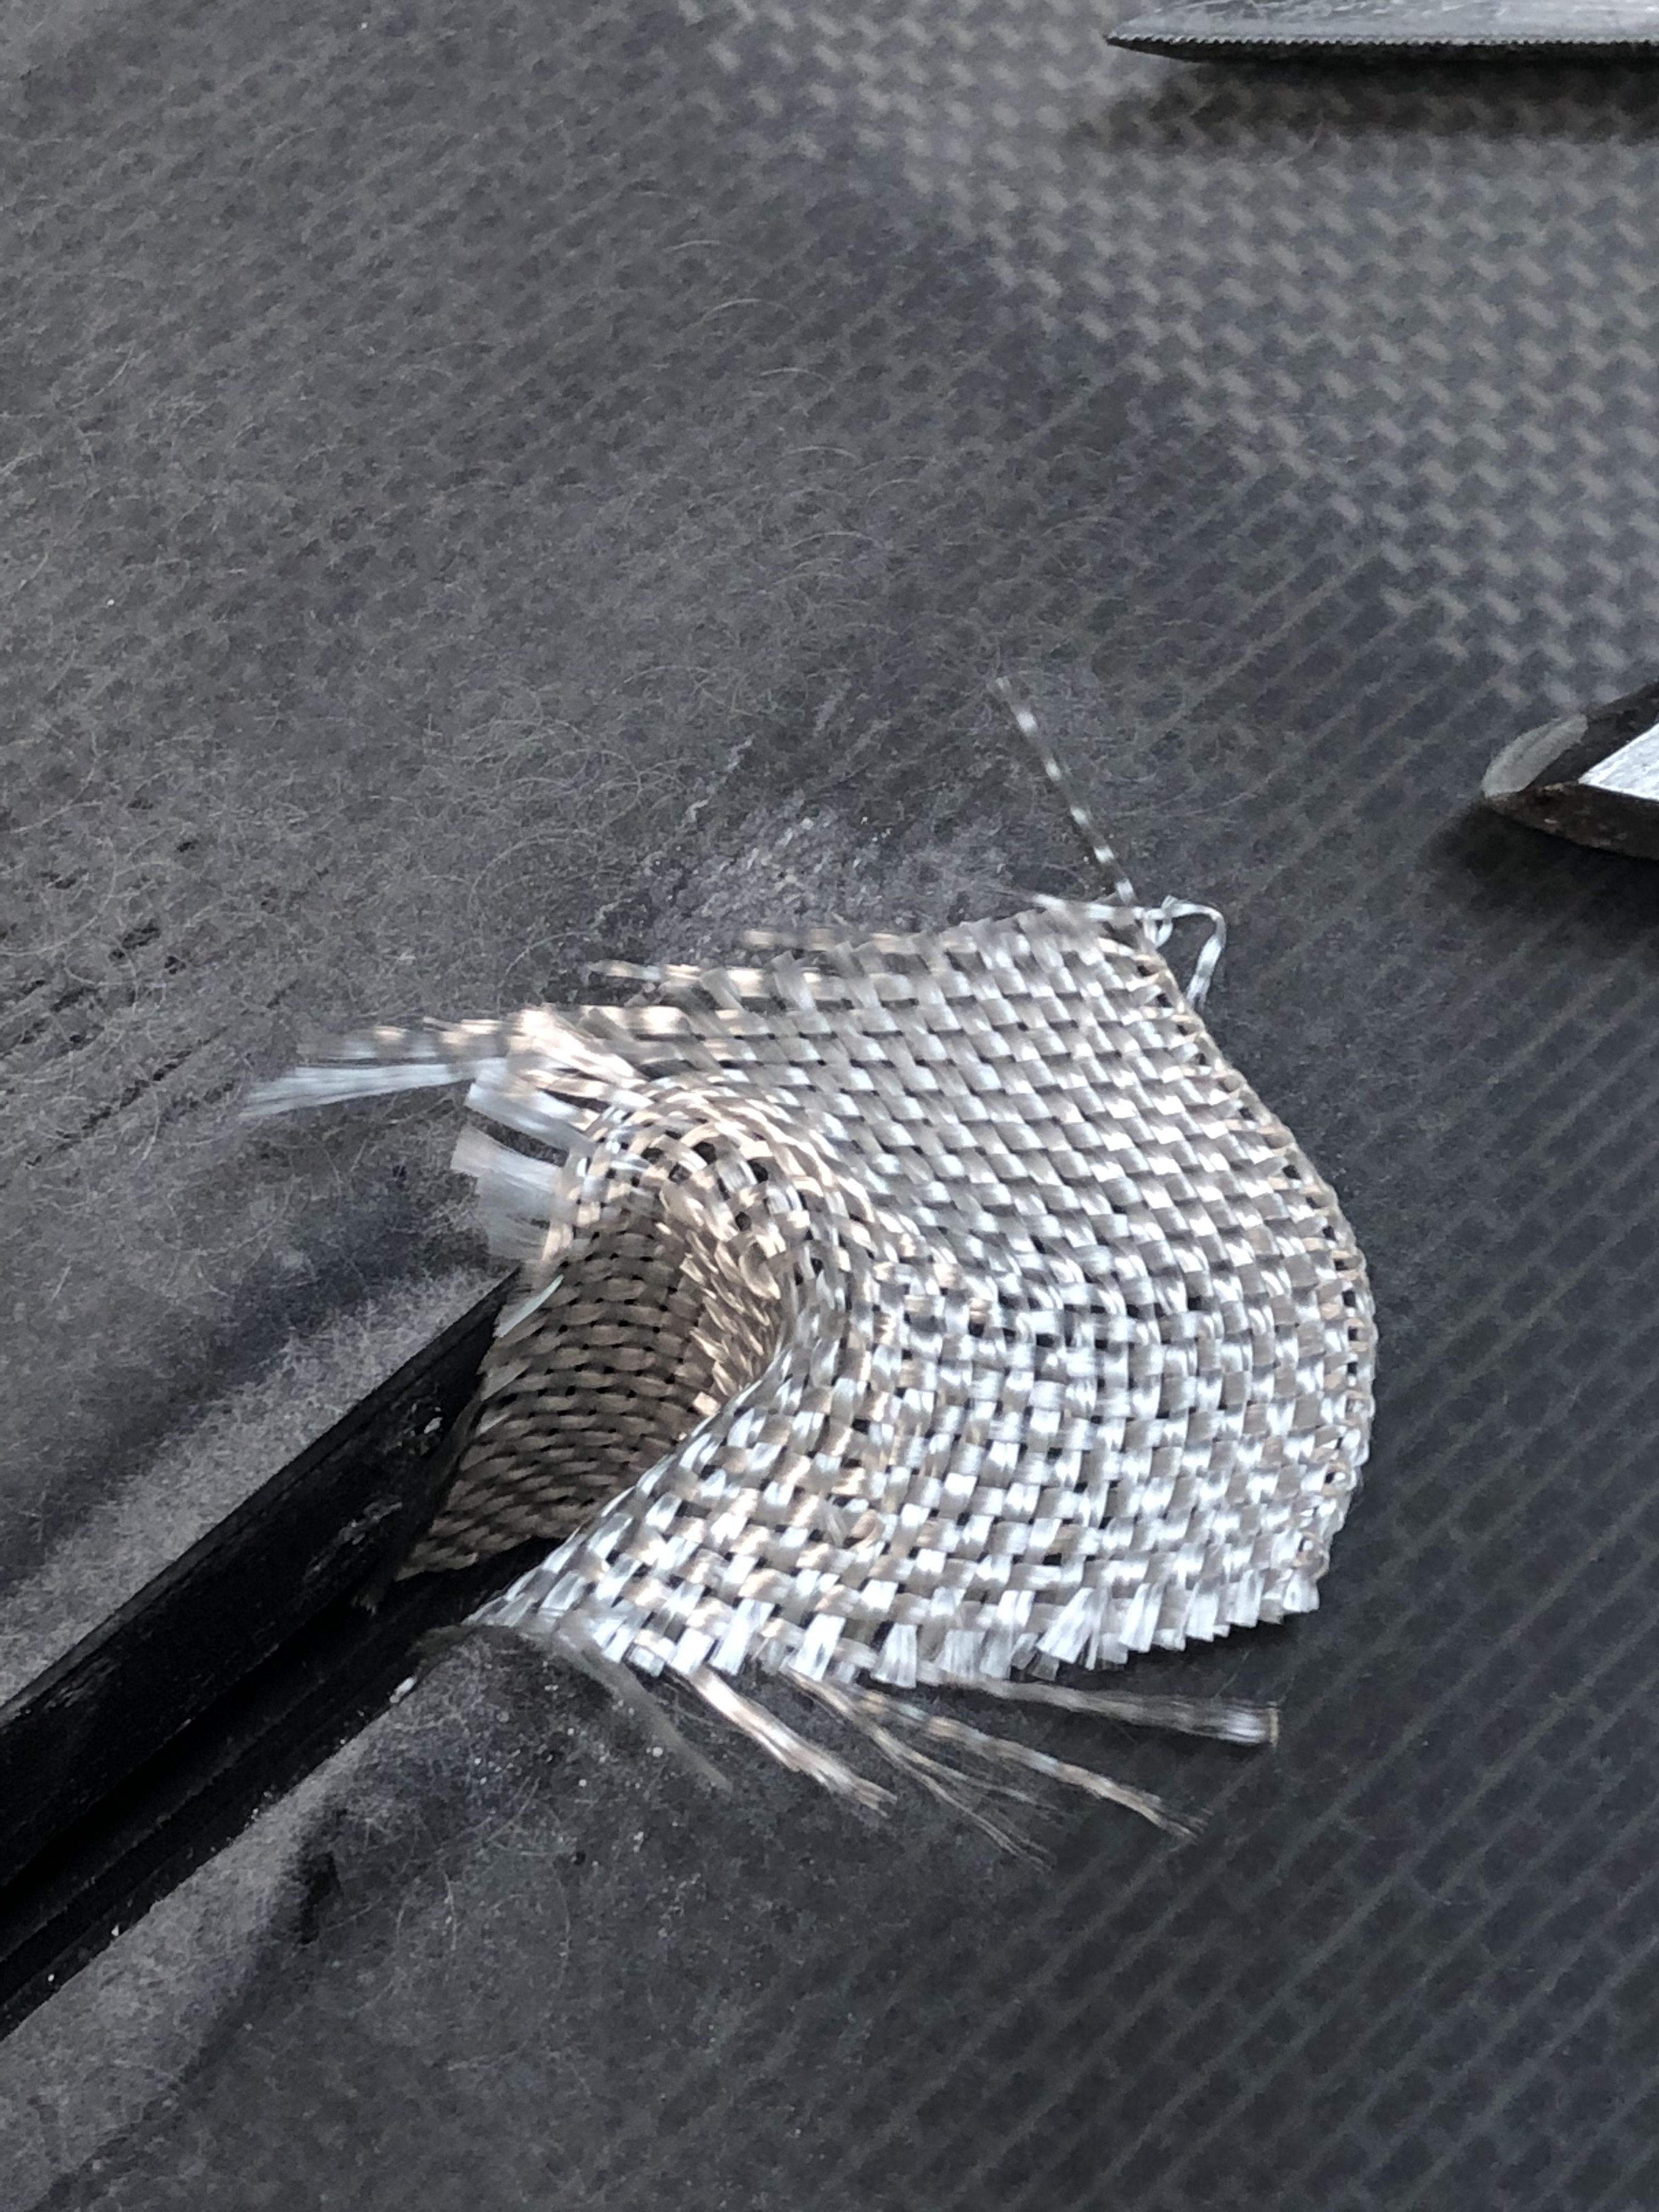
Postage stamp width, double the length 6 oz e glass fiberglass

Prep box with light sanding in corner and deck

Place e glass “postage stamp” in box covering crack up and down(vertical) and wrap to bottom flat…see how it fits nicely and smooths out fine??

Recut e glass if you messed up piece with initial trial fitting

Tape off board where resin might run off with board in side position in a rack to right side of box as looking at bottom.  Make tape off at least 1’’ away from predicted e glass placement for feathering when sanding to bottom

Supper 77 spay adhesive,light application to e glass postage spamp and let sit for 1 minute

Place sticky side of fiberglass in crack corner with tail coming to top of deck. Don’t wrinkle and it shouldn’t if you are careful. Don’t worry if you screw up you can try again

Position boad in rack on side with repair side down and tail slightly elevated making resin flow towards corner of crack.

Carefully saturate with epoxy resin. hardware store two part will do or optimally get some 2:1 ratio fast cure green room resin or equivelant from a buddy

Saturate E glass fiberglass in repair area so it is totally wet out. 

Fast cure resins you can probably start sanding deck to flush with in a half hour. After sanding,  have board flat to fill any exposed weave with fast cure epoxy resin(may or may not be necessary) the sand a second time

It’s actually a less than an hour fix with a high quality resin fast set epoxy surfboard resin.

If you live on oahu I can help fix


Everysurfer, BB30; thank you for your advice!

Here are the pics, it took less than 5 minutes to include pictures. this is up to the point of adding quality surfboard epoxy resin with gravity helping to keep resin in corner(last photo). if you mess up just start over