What are you working on? In the middle, not finished? No problem, lets see some pics!
What are you working on? In the middle, not finished? No problem, lets see some pics!
Good work Huck! i couldnt even check this thread it crashed my computer everytime:)
testing image size, new 5’2" Mini:

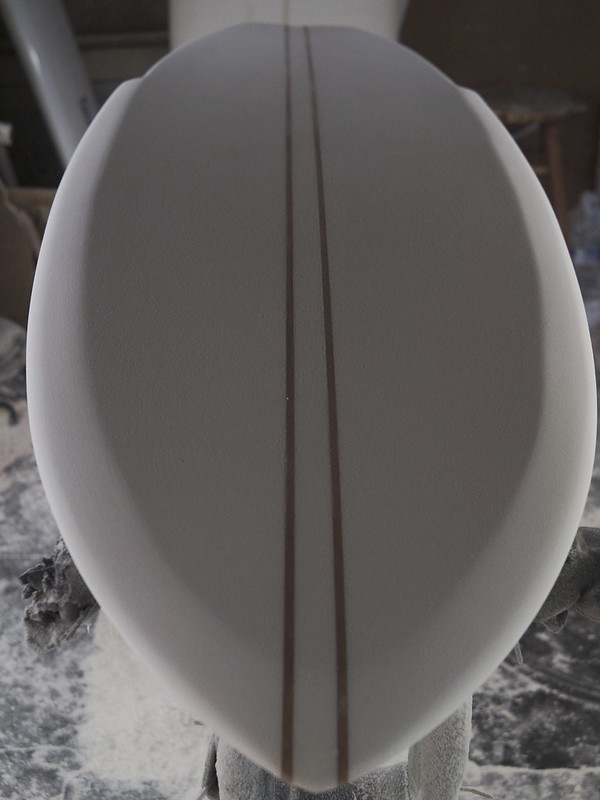
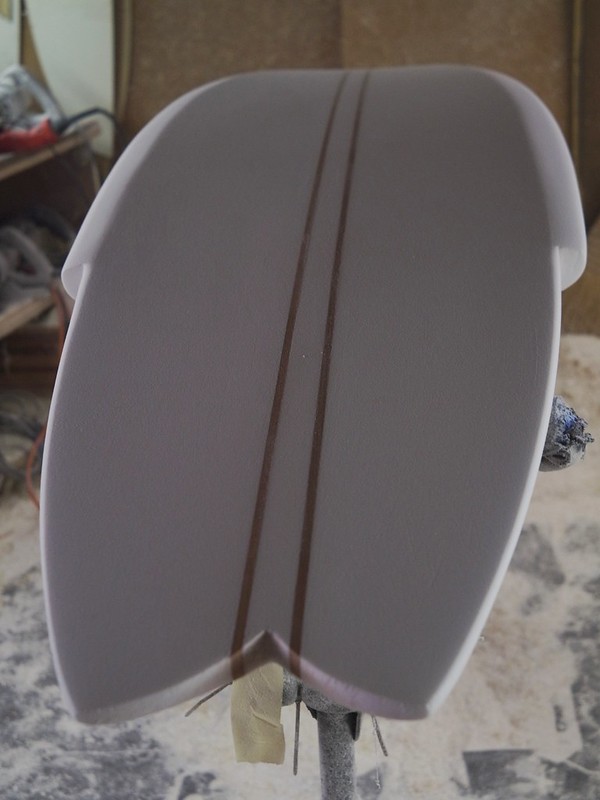
Reduced the size of these to 800 pixels , using “Paint”…they uploaded far quicker than normal…and the board is a 5’6" quad-fish with tail wings behind the fins ( when its finished)
Return of winter power swell here in France. Need a more serious board. Hope sizing of image is good
Almost a year of test rider feedback and from left to right the progression.
Kudo’s Barry!
Note, minor ding left side of #1 ,test rider comedy, drop in by #3 !
Mahalo Greg!!!
been looking for one of these for a few years, rare and hard to find, found it parked next to an old trailer out in the sticks, a 1984 Clackacraft Power Drifter. Owned by a good old boy who had painted the inside and outside with some weird camaflouge since he used it as a duck hunting boat as well as his steelhead/slamon boat.
Power Drifters can be rowed as a drift boat, and with a 15 hp on the back plane over 20 mph. Relatively light hull, all hand laid glass. Going to be my salmon boat for tooling around tidewater. Flat bottom with shallow draft, so the sand bars that my last power boat tended to find not an issue.
Going to strip it down, remove the seats/rails, reinforce the transom, add some side bracing to compensate for the cross-bar seat removal, build some custom pedestal seating, prep it and spray a couple coats of new enamel on the hull and inside, and add some new hardware for this and that.
wow cool project Icc, hope you post up more pics as you progress!


beauty ace !
This is my latest from a 6’6KB Surfblanks Blue. Mp disc inspired with a very cruisey rocker and simple flat vee bottom. Three fins though on this one.
Good looking stinger there Ace.
Fin set-up?
Zack, clean.
Dion resin eh?
Love that stuff.
experimental surgery…

so nice
Rocker augmentation or deck reduction?
heat induced plasto-bubbleplasty… dark epoxy over poly blank left in sunshine too long…yellow is re-epoxied bottom patch/new glass. Hope it works cuz the board rides (great 6’5" roundtail quad.)
A’lainn Ace, looks like it would be a blast to surf! Slanj
Smile @ strangers & use the force.
Always good to have something else to fill in time when waiting for board lams to cure! Oh and a free bonus added extra time to bandage myself up after. Slanj
Smile @ strangers & use the force.
yeah barry we use it here and there. But mostly FGI/ Nuplex. I like the dion though not so much blue highlight.
How big are those? They look like they’d be a ton of fun.
I know I have my build thread going, but, I’ll throw down one to contribute to this thread.
Longboard cutdown to a 5’6" fish template I got from blending curves… still some work to be done, but she’s smelling fishier by the second!


